Are you pulling your hair out
every time you clean bugs off your
leading edges and see all the accumulated rock nicks in your paint?
Well, it was bugging the heck out of me too.
Finally, with the help of my IA, I got down to the business of selecting a tape
and getting the project underway. At first it seemed like a daunting task, but
with some helpful pointers from my IA, I was quickly making progress and loving
the results.
In my opinion, anyone with a reasonably steady
hand and patience can achieve great leading edge tape application results.
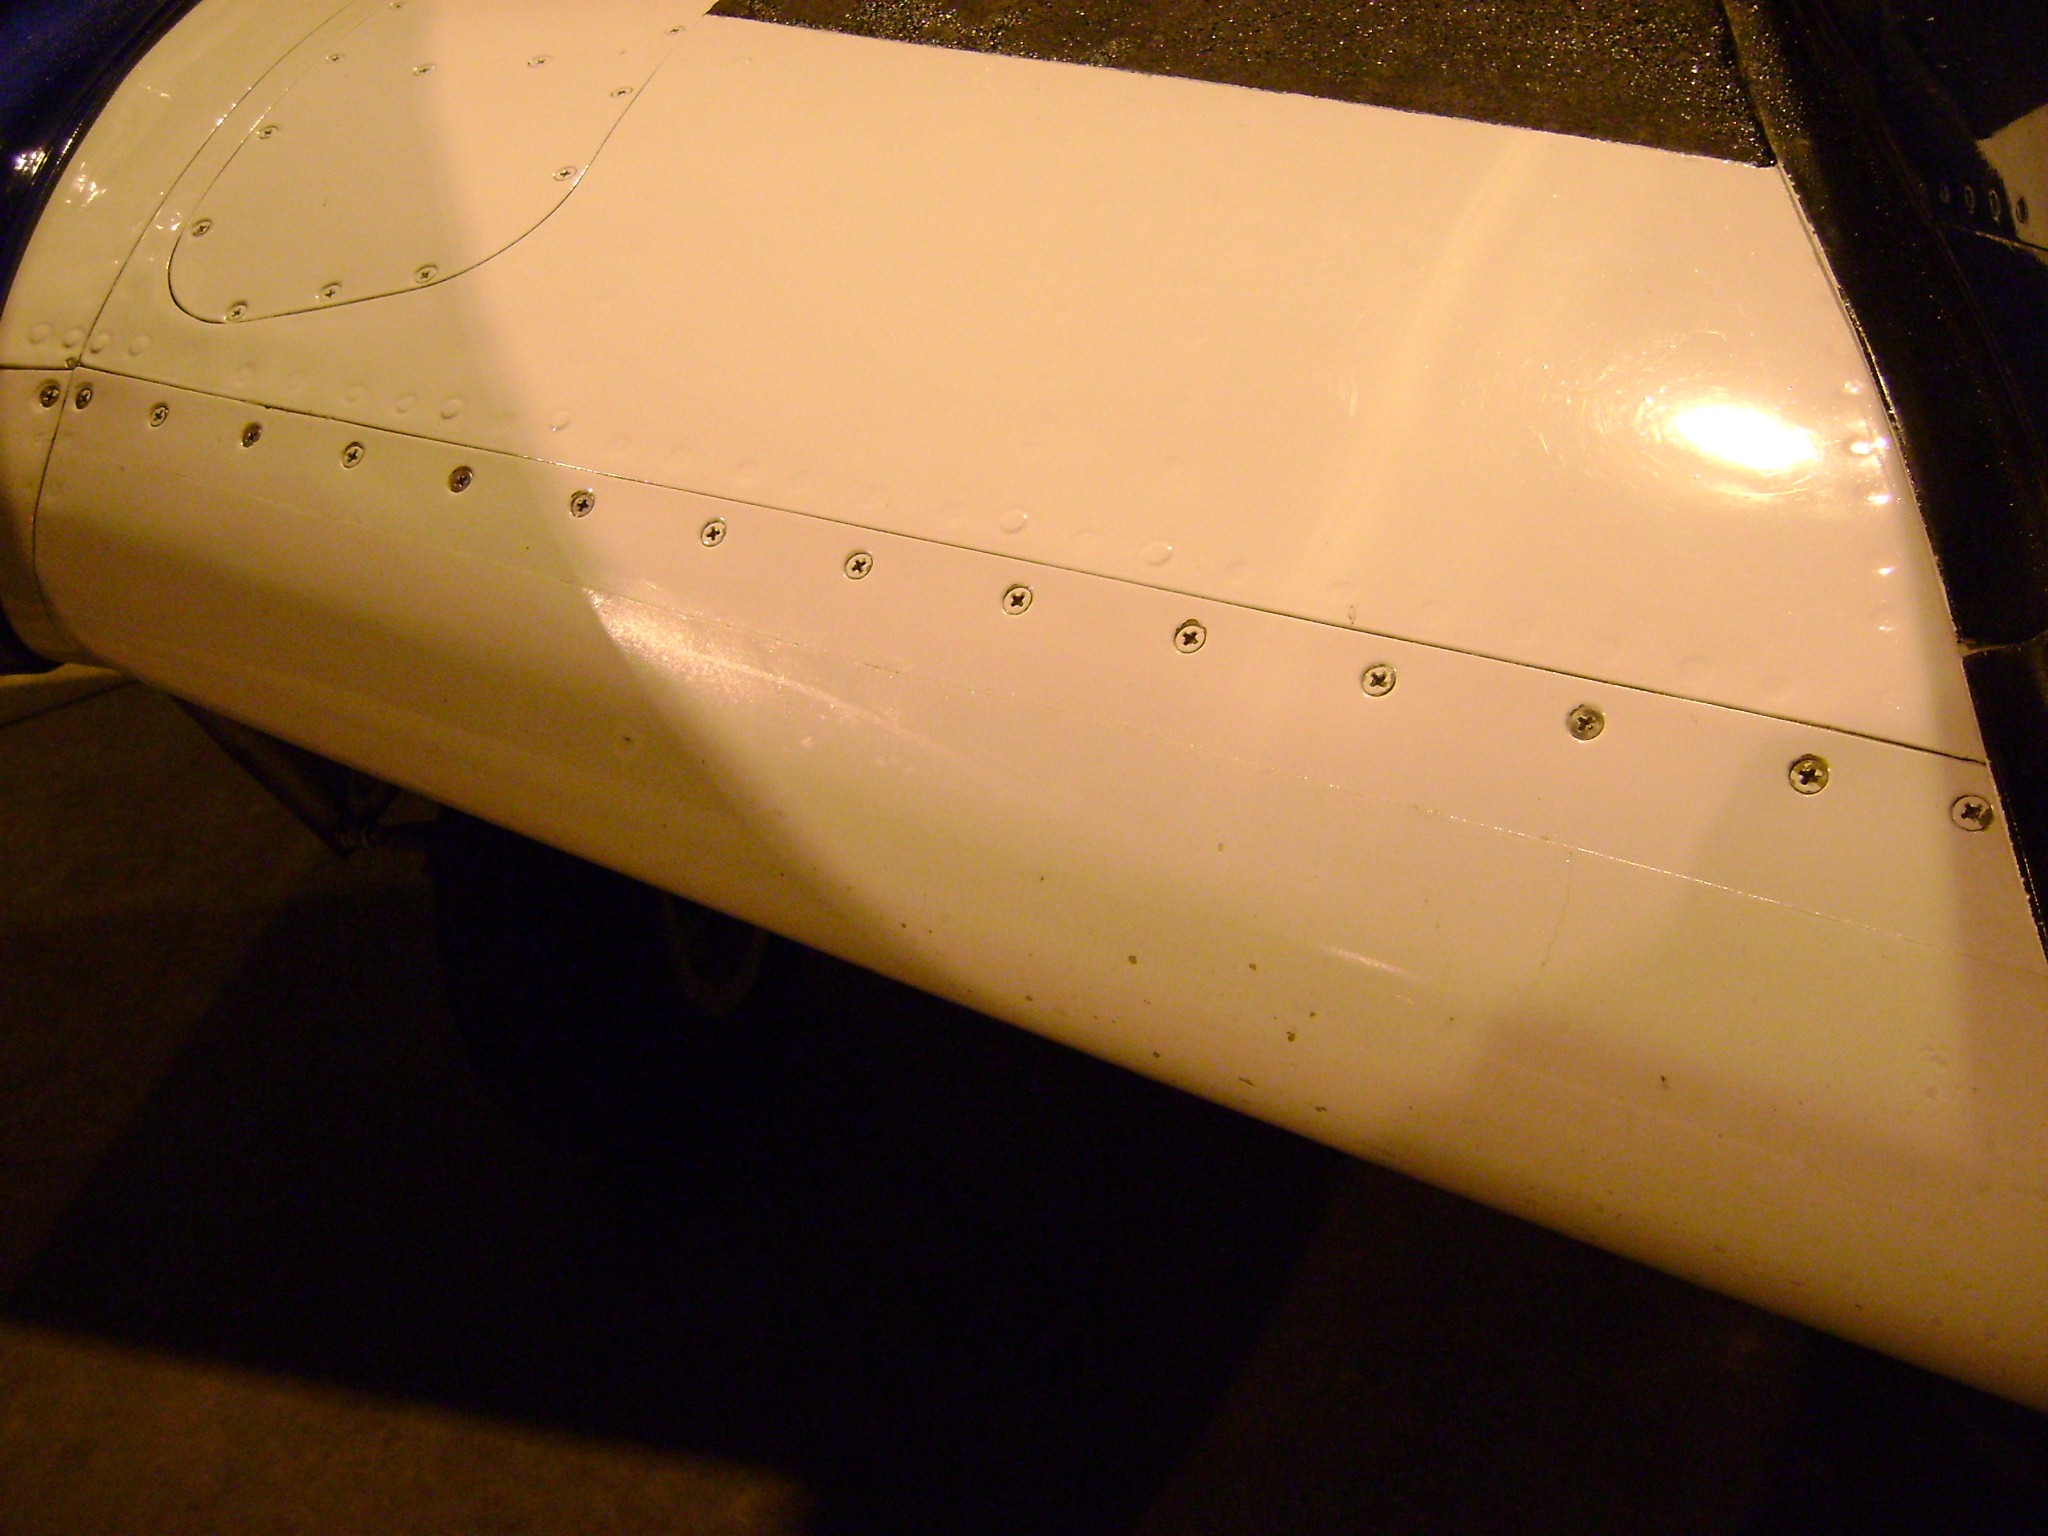
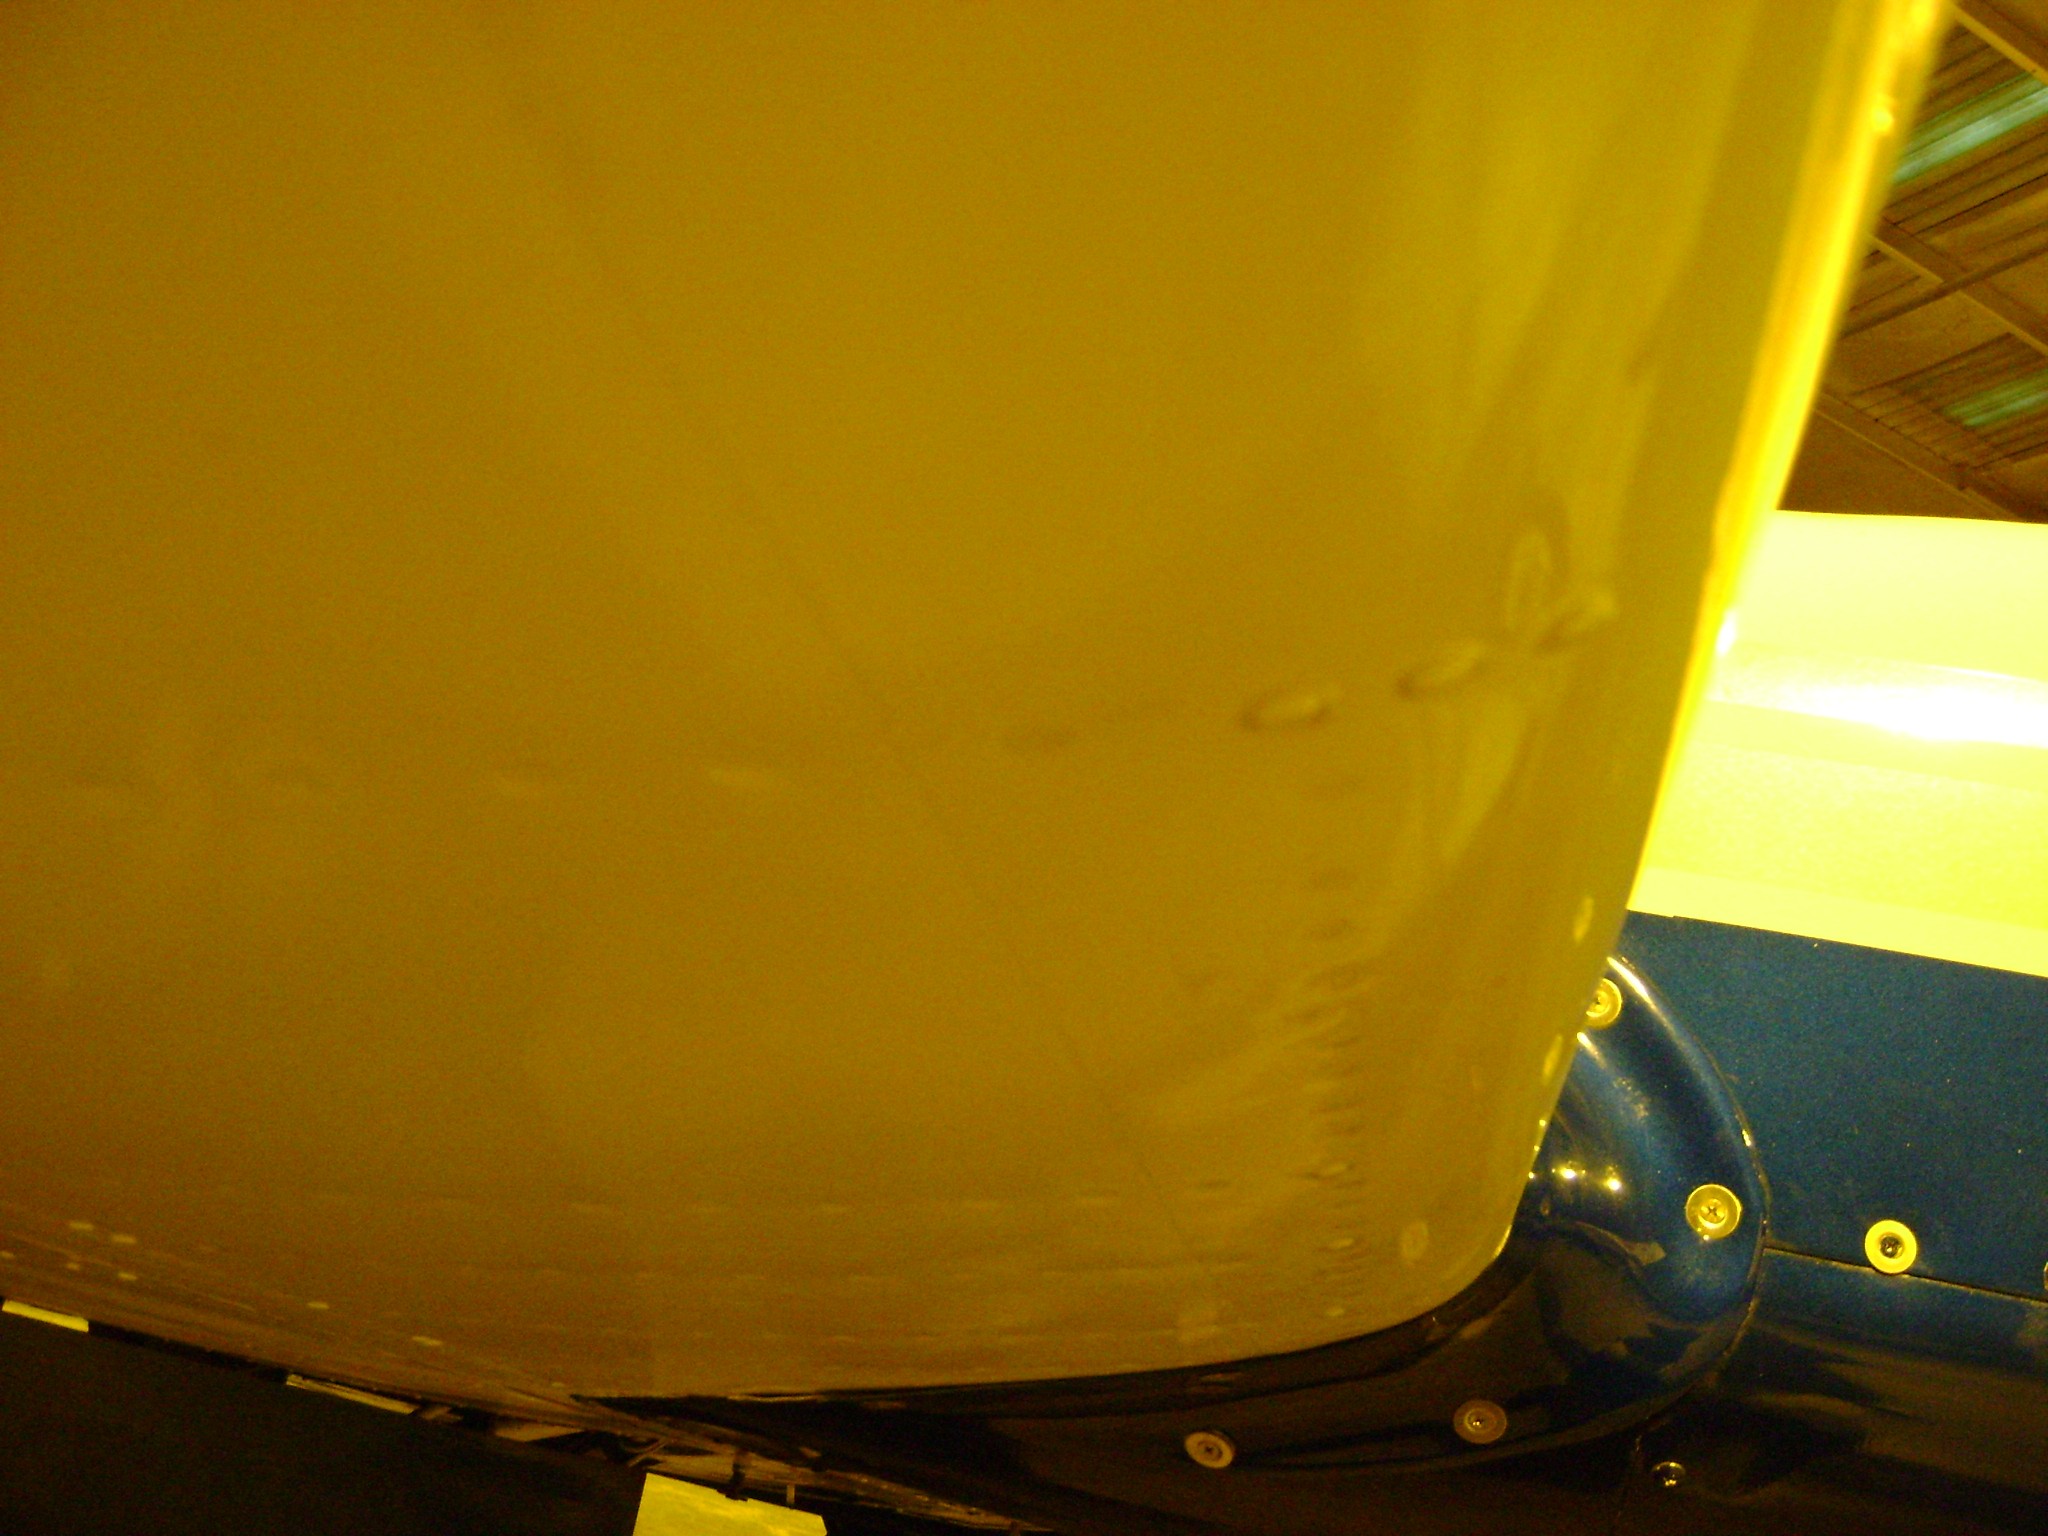
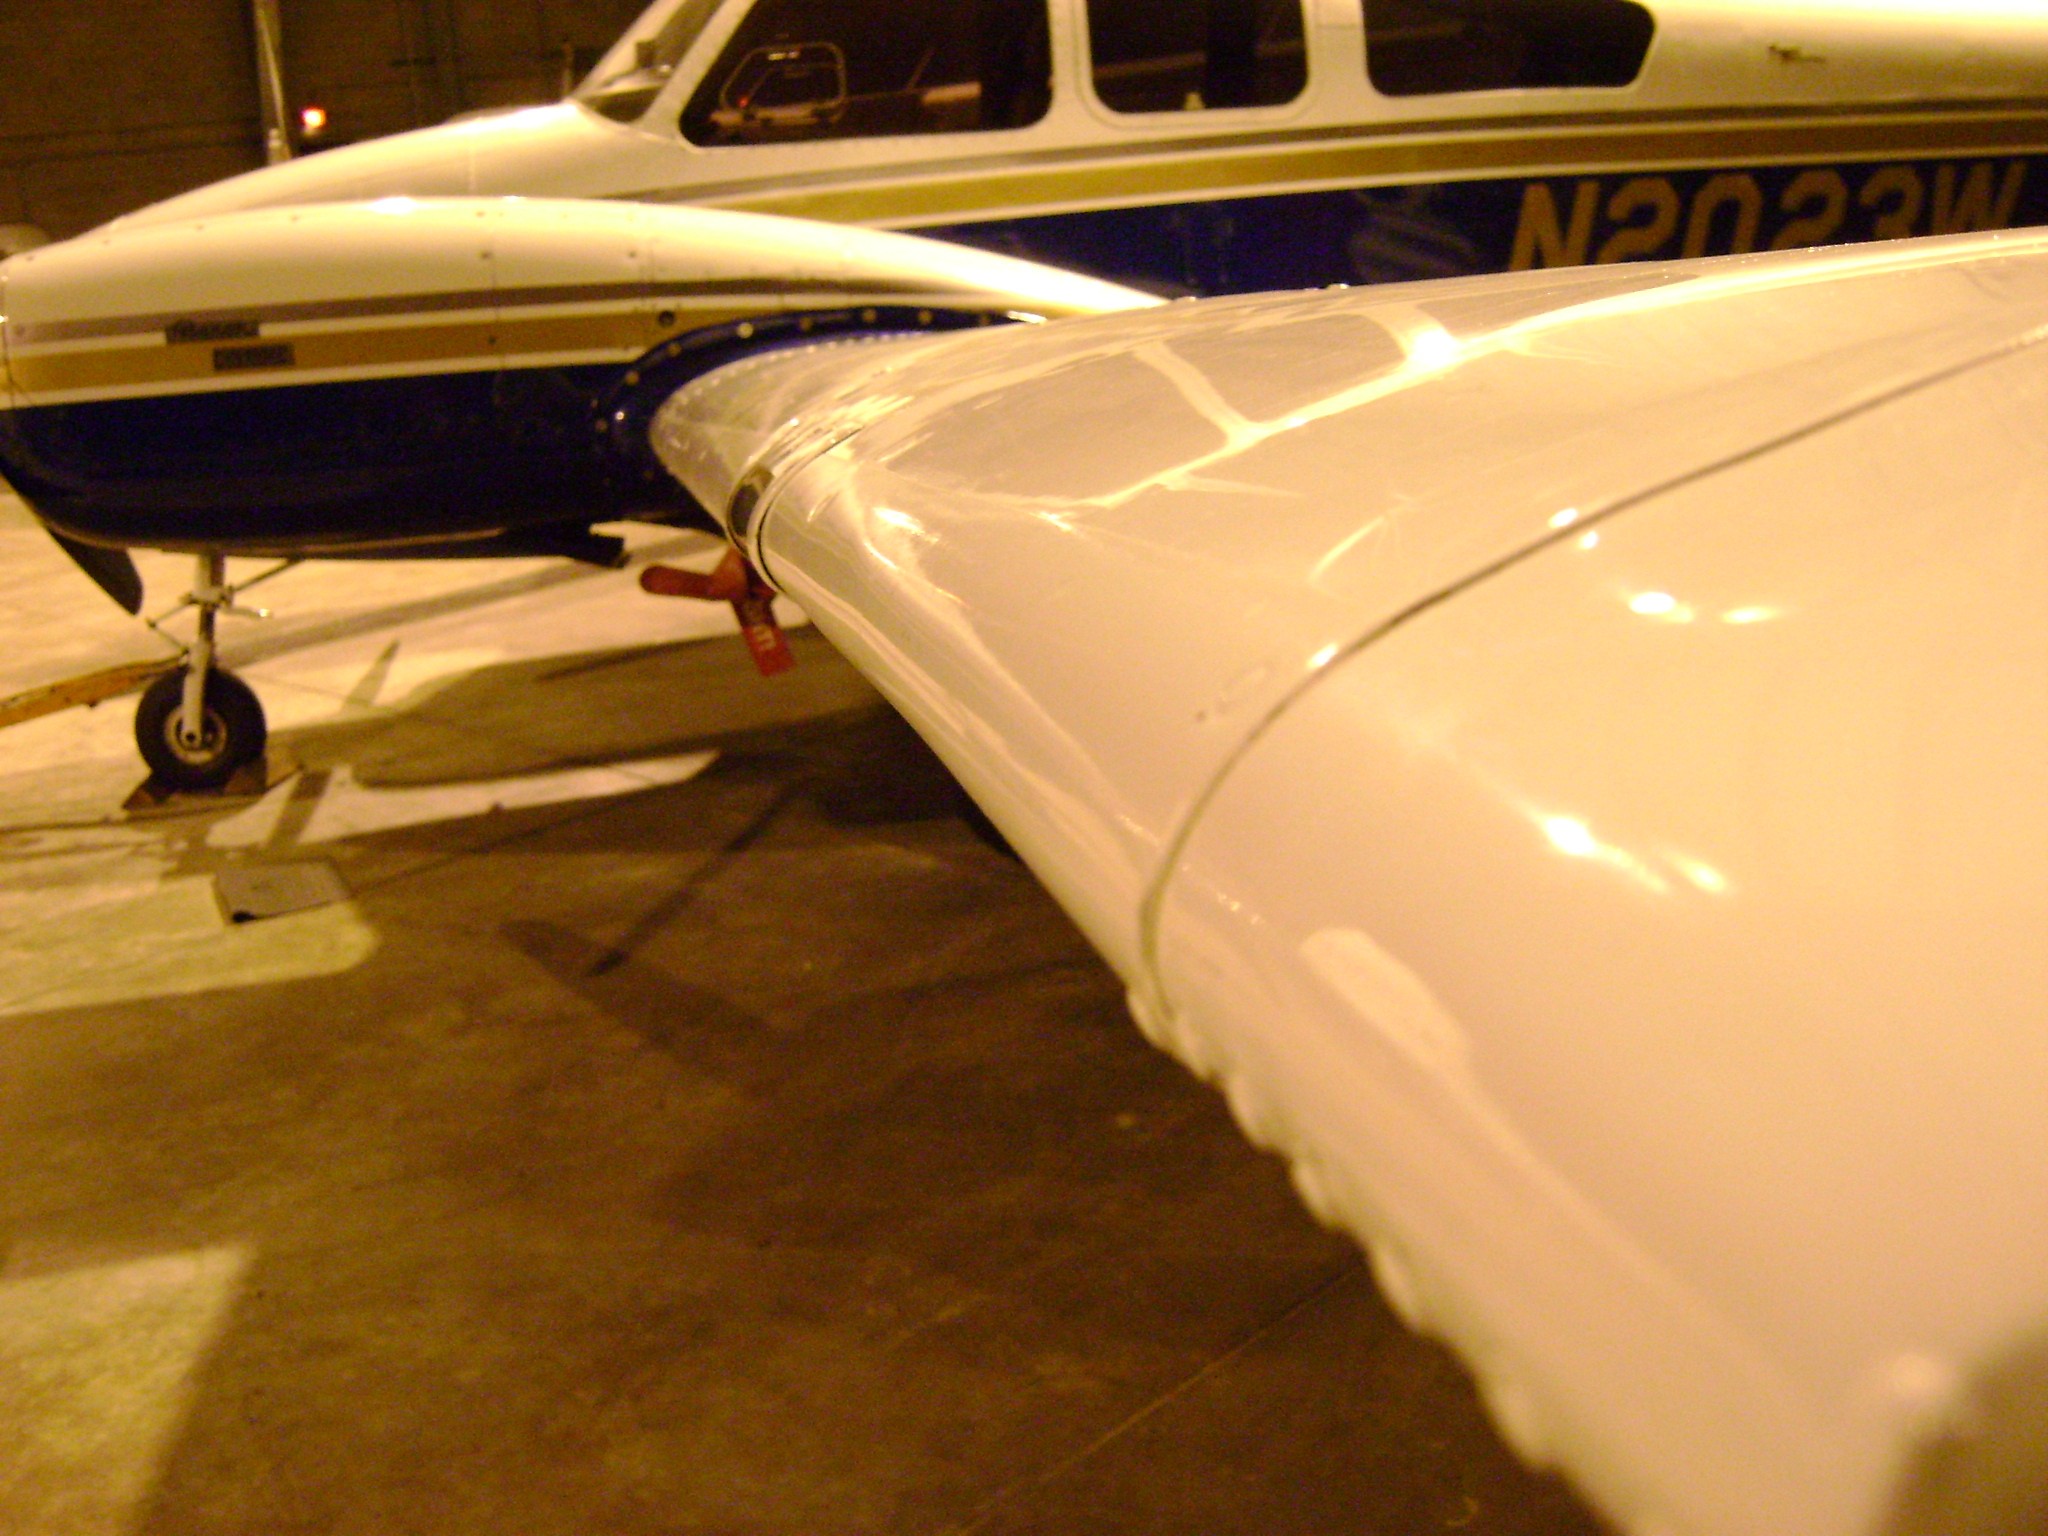
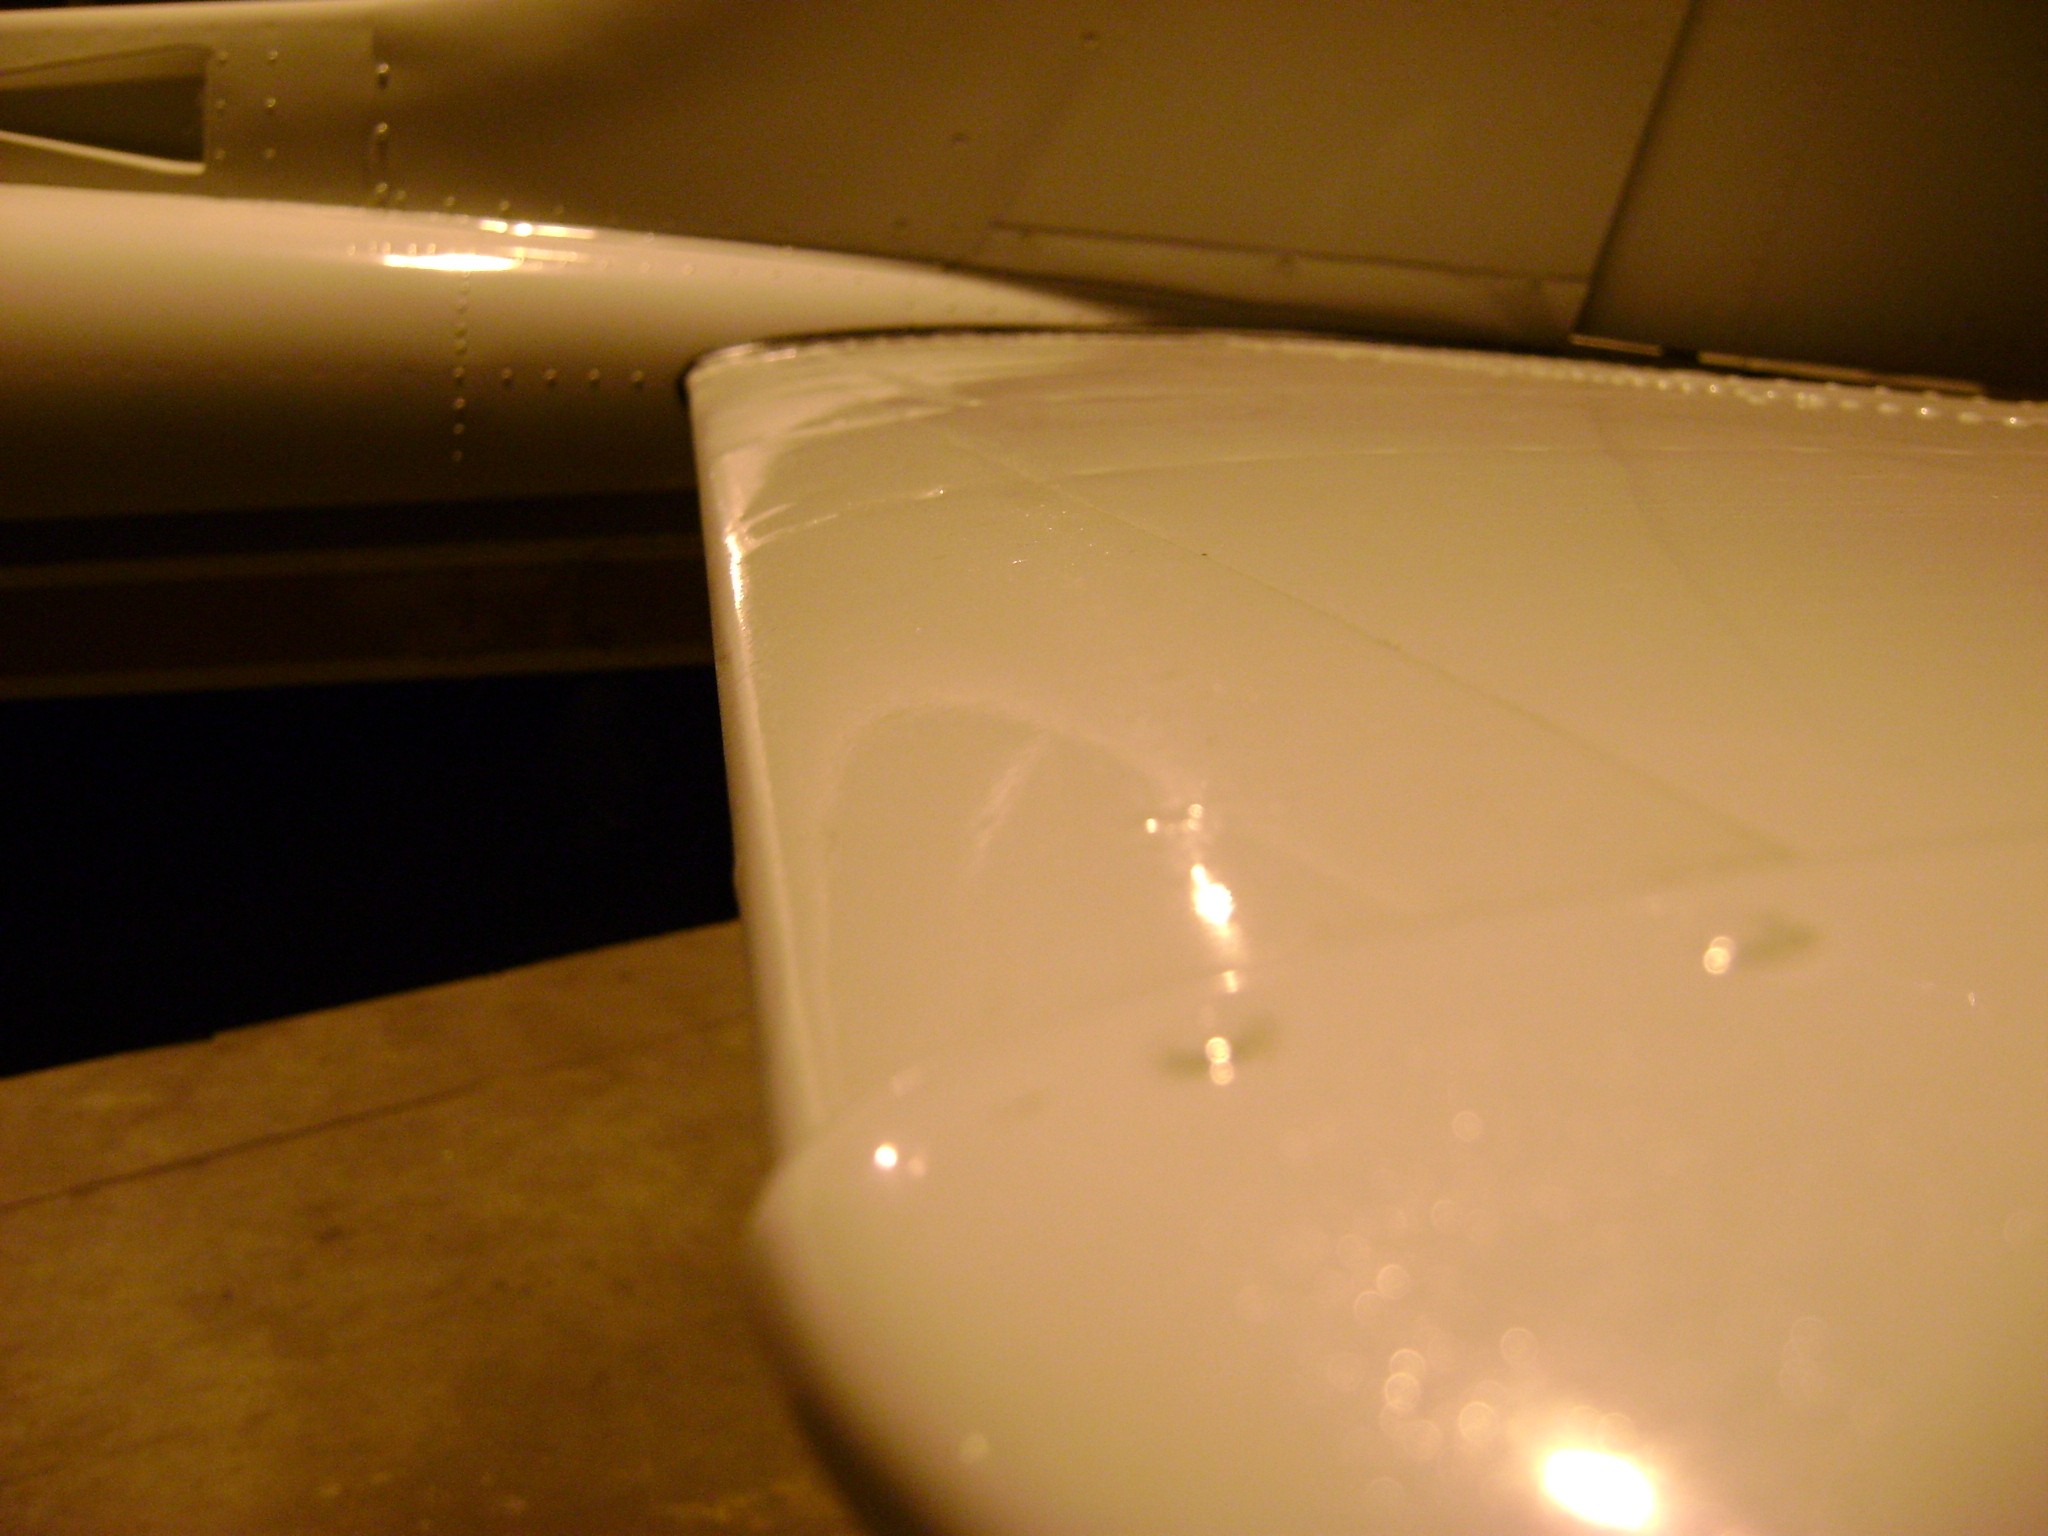
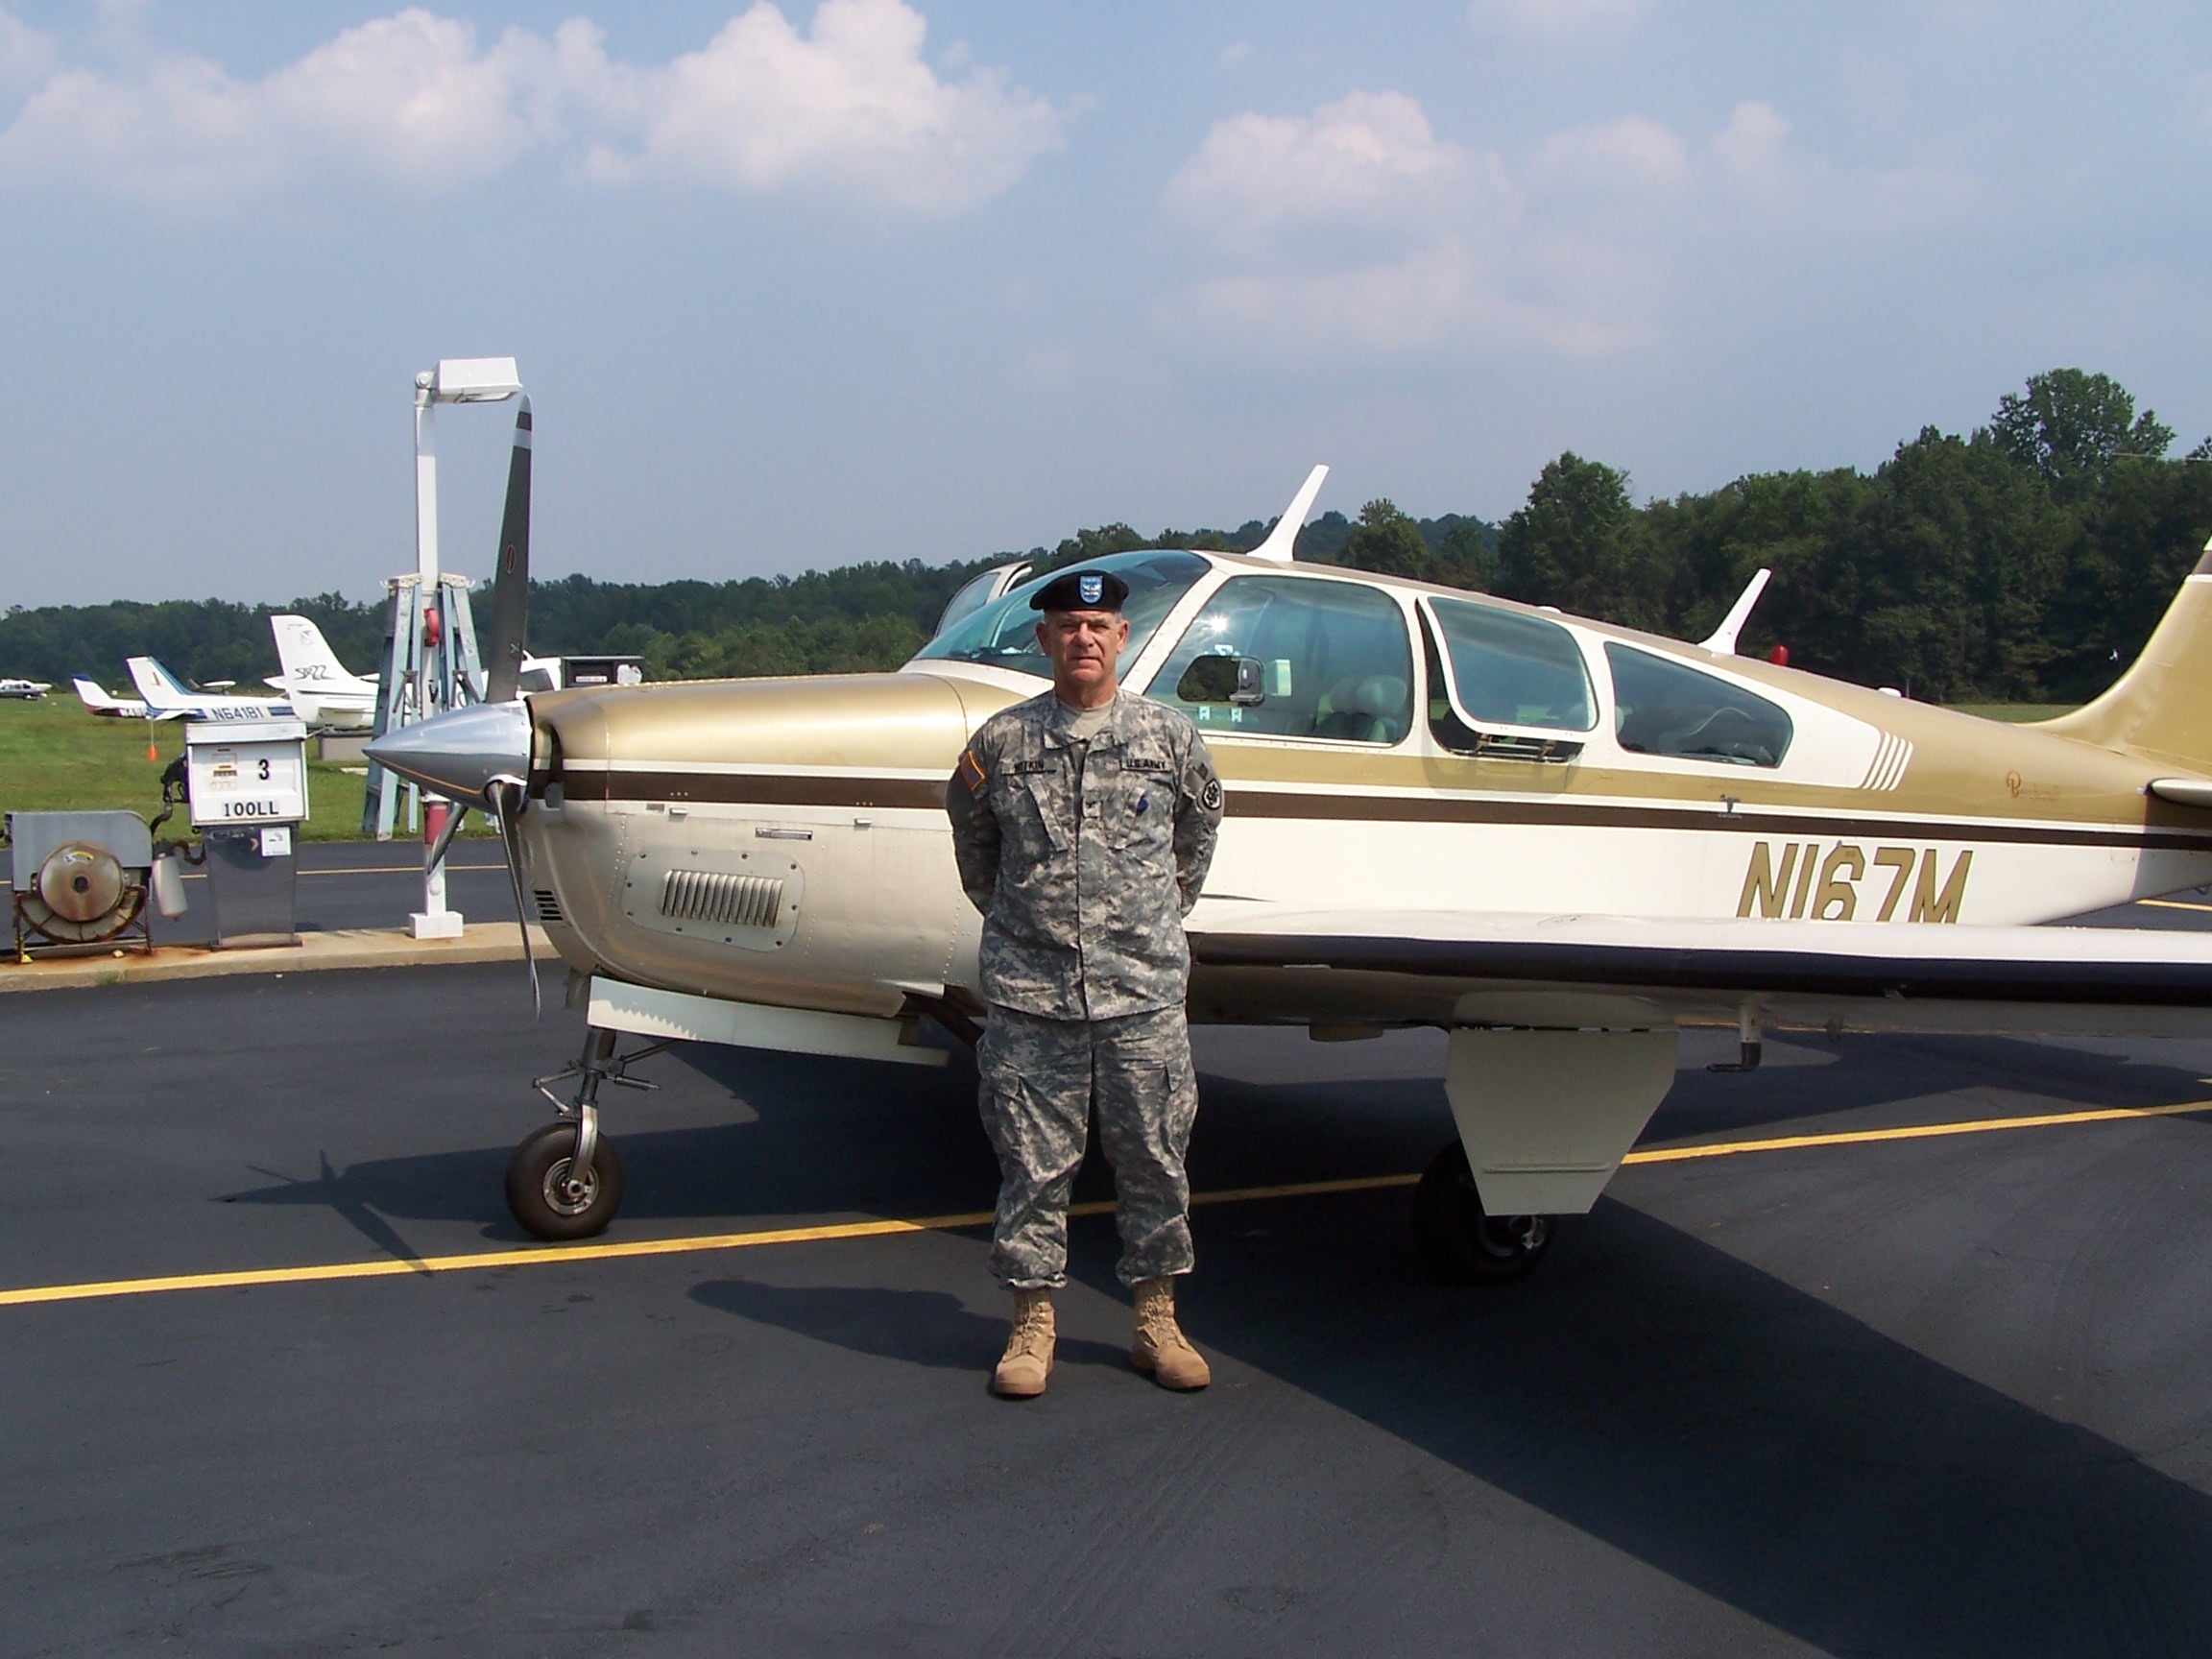
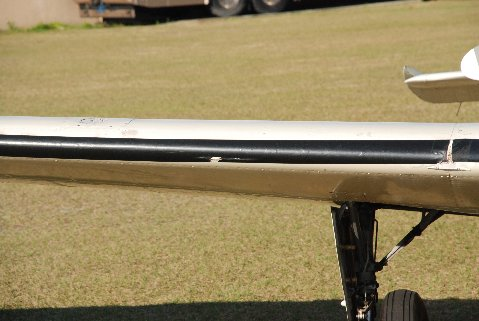
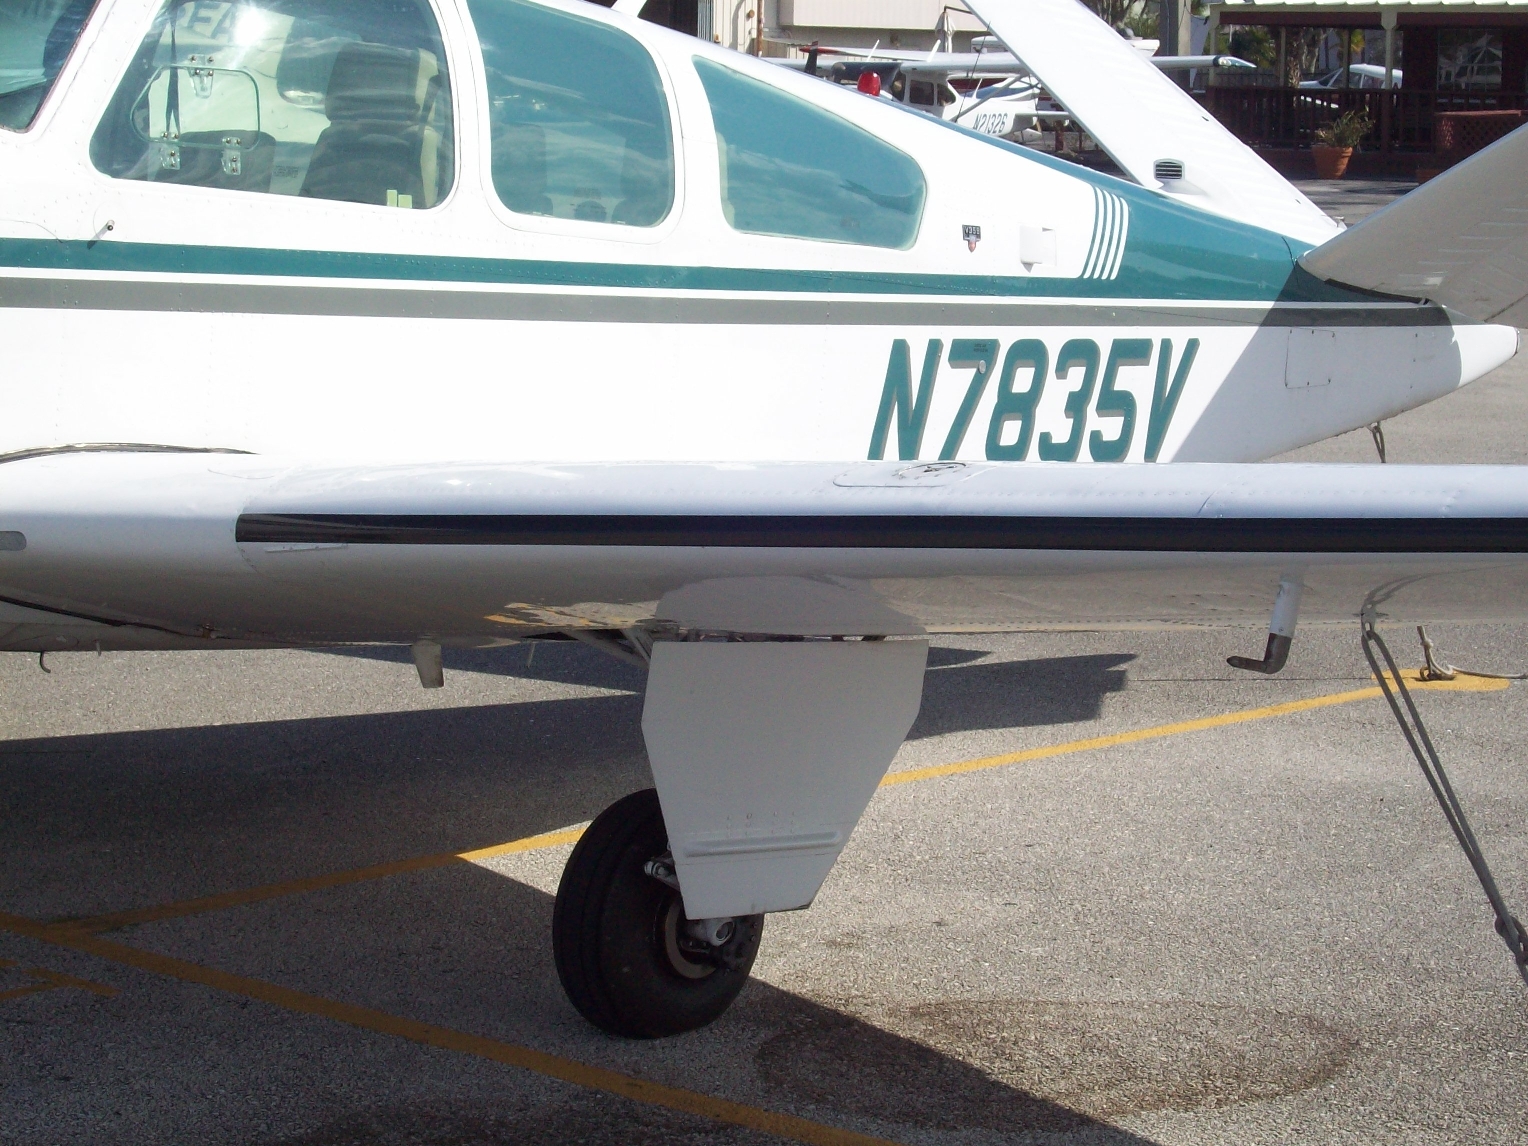
Here are the pics of my results
(Click for Hi Res)
Here's how I accomplished my results:
When I did this project, I selected 3M #8672, Clear, 6" width x 18 yard
roll length, a product marketed as a "Leading Edge Tape" for aerospace
applications. It has a 0.006" thickness plus 0.002" of adhesive and is touted to
have good UV resistance.
Here is 3M's #8672 product description:
Designed to help protect
light aircraft from the damaging effects of rain, insects, sand, snow and sleet.
A tough durable, protective tape for exposed surfaces. 3M #8672 Polyurethane
Protective Tape is designed to help protect the leading edges of aircraft wings,
struts, horizontal and vertical stabilizers from airborne particle damage.
Versions of this tape are used extensively for surface protection in both
military and commercial aircraft applications. May be applied to clean metal or
to commonly used aircraft paints over metal or fabric. Not to be used on props,
helicopter rotors or balanced surfaces such as elevators or ailerons.
You may also want to consider the Black film,
a personal preference kind of thing, however, some folks report liking the Black
film for their ability to better see any ice accumulation on the leading edges
and the sunlight heat effects on a black surface help sublimate the ice when you
emerge on top from that icing encounter.
I wanted good rock ding protection and a slick
surface so as to resist bugs sticking (when I am operating in bug smasher
territory) and to give me whatever measure of slickness over and above my plain
paint for the "other things" to slide off of me when the temps are below
freezing..........
It's available from Aircraft Spruce and
probably other aircraft supply houses
This was my application methodology:
1. I cleaned the area thoroughly and did a final wipe
with isopropyl alcohol of the area to be applied.
2. Cut tape to the length of the area you are covering
3. Lay a line with masking tape for the edge of your film on
the top wing or top elevator surface
4. Lay tape on top of wing or elevator, liner side up
5. Peel about 1" of liner from the front edge of the film.
Use some sort of latex or exam gloves so that you can come in contact with the
adhesive to pull this first section of liner away from the film. The gloves will
allow your finger to hold down the adhesive face without leaving a fingerprint
in it. A fingerprint will definitely show through the clear film. You can also
hold the film down while you peel with some sort of tongue depressor or popsicle
stick.
6. I lightly sprayed the area to have film applied with plain
blue Windex regular (top and bottom)
7. Lay the open adhesive portion of the 1" you exposed against
the edge of the masking tape and tamp down the film and adhesive to the airframe
surface
8. Begin pulling more and more liner from the tape and
squeegee out the air bubbles as you go across the airframe surface.
9. Continue pulling liner and squeegeeing to the end of the
film. Do not worry about the movement of the film where the Windex is...this is
OK and the Windex liquid allows you to get the film in position for nice wrinkle
free squeegeeing
10. The Windex will dry and the adhesive adhesion appeared to
me to be unaffected
11. Use a very good spotlight to illuminate your area of
application to see bubbles at time of application. This is especially helpful on
the underside areas, where overhead illumination is minimal.
12. A sharp pointed scalpel/X-Acto knife or ordinary straight
pin can be used to burst air bubbles that get missed the first time through and
then squeegee down the air bubble.
My IA advised that more film be applied to the bottom of the
leading edge of the wing as AOA will likely expose more of the underside of the
wing (and therefore the bugs rocks and whatever else impinges on a wing in
flight - ice). His guidance for me was to apply evenly on the horizontal tail edge
(top and bottom).
The 3M polyurethane film appears to the hand to be quite slick
(it gets slicker with Johnson's Baby Oil Gel) <vbg> if you want to get it
slicker.
It applied and formed quite well over my triangular "stall
block". I cut the vertical sides of the film to have it lay down on the sides of
the wings and shaped it over the top and bottom edges of the stall block. As
well, it was easy to cut the opening for the stall warning vane and lay the film
alongside the opening insuring no interference with the operation of the vane.
Additional application thoughts from N35 Bonanza owner Paul
S. who has extensive experience working with adhesive backed films and
appliqués:
3a. place the edge tape where you want it on leading edge &
tape in place create a "hinge" along the top edge with masking tape (easier to
handle liner release) remove tape holding it in place & flip up on the top of
wing you can remove the whole line now as "hinge" will hold in place
6a. go to a local sign shop & bum some "application fluid",
put in cheap pump spray bottle (better than Windex, or cut your Windex with 50%
distilled water) will be MUCH easier if temperature between 60F & 80F and
humidity between 50% & 90%
We did my whole B55 wing and horizontal
stabilizer in about two 3-hour sessions. The 18 yard roll was enough with a few
feet to spare. Since a Bonanza wing is narrower than a Baron wing, you Bo folks
should have no problems at all with the 18 yard roll. I suspect the 12 yard roll
might not get you there and the 4" width might not give you enough underside
coverage (assuming that you buy into the 60/40 kind of coverage ratio bottom/top
that my IA suggested).
Bonanza owner
Max G.,
offers these "post-install" care suggestions for continued airworthiness:
Be careful cleaning and never rub into an edge but rub in a direction so that
a cleaning rag goes from on the tape to off the edge. Don't clean near the top
of the tape with a solvent such as Simple Green that can run and then lie along
the tape edge softening the adhesive. These two precautions will prevent most
edge tape peeling and edge chips.
Thanks Max
Debonair Owner Alan W., w/Black Leading Edge Tape
After six years of having his 3M tape in place,
Alan reports no moisture trapped under the tape
S-35 Bonanza owner Mike F., offers the
following pirep on his tape experiences:
I've had the clear leading edge tape on my Bonanza for the
past 10 years. It has held up well over the period with no tendency to peel off;
however, it has yellowed over the past two years. I have found that over time
there has been some staining from the bugs, but it has protected the leading
edge paint quite well.
I've tried a lot of things to clean the leading edge and I've
found that either a well used Dobie pad or a micro fiber wash cloth with a lot
of water will take most of the bugs off without causing the tape to lift or
move.
I'm planning on replacing it this summer and I'll give a pirep
on the removal process.
Here are pics of John R.'s V-35 Bonanza
after his leading edge tape application. He liked the thin black look.
Click the pics for a
hi-resolution view.
All in all, I'm quite pleased with my results.
Did I get a wrinkle in there? Well yes, I have to admit that I got two wrinkles
that got away from me (more Windex applied to the underside would have helped
these two errors) but fortunately they are on the underside and they are small.