*Product is not currently FAA/PMA approved, so
consult your
A&P/IA for guidance regarding installation and use on certified
aircraft.
Gee Bee Cabin Door Seal OEM-Late Model & Early
Old black rubber seal pictured above
Gee Bee's
OEM Beechcraft Silicone Two-Piece Door Seal
Includes:
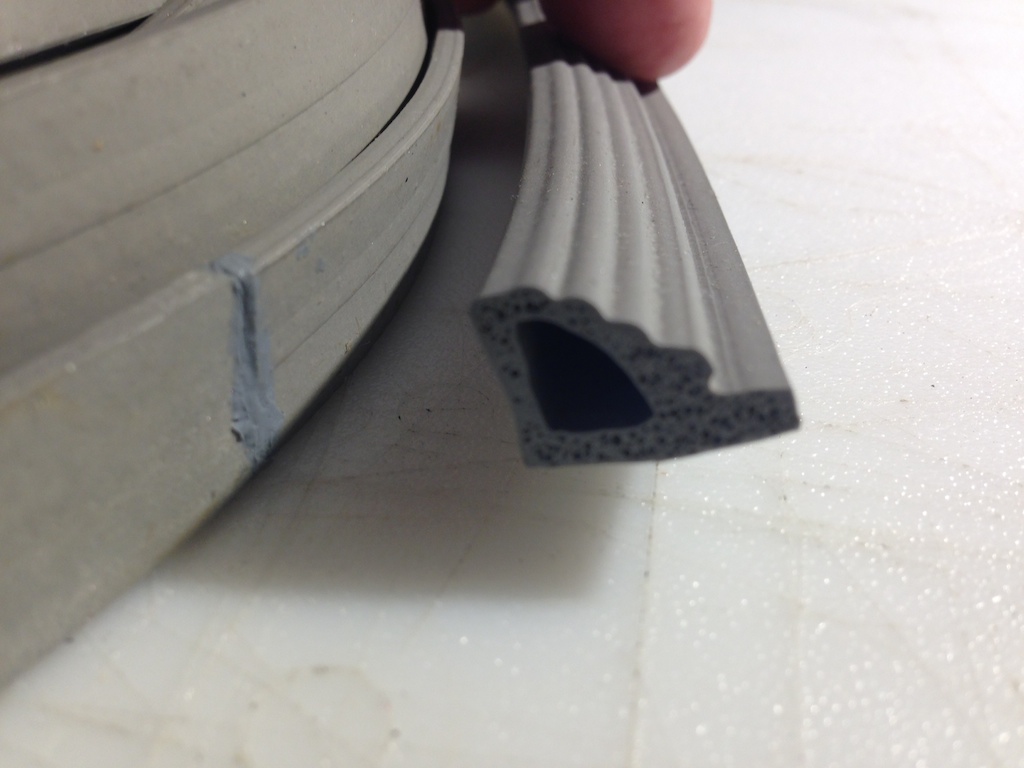
Two piece molded Silicone foam, molded at hinge line and latch.
Hinge Seal Pair
Nylon Striker / Bottom of Door Sill
Exterior Door Handle Seal
Ridges for better sealing and closure.
(This is the OEM Seal on new production 36-4013-1).
SN FITMENT :
CE633 ON UP
D9819 ON UP
E764 ON UP
EA1 ON UP
TC1936 ON UP
TE1070 ON UP
TH733 ON UP
YK1 ON UP
Silicone Cement is Always Included
$597.50
Standard Extrusion Version is Available at $395.00
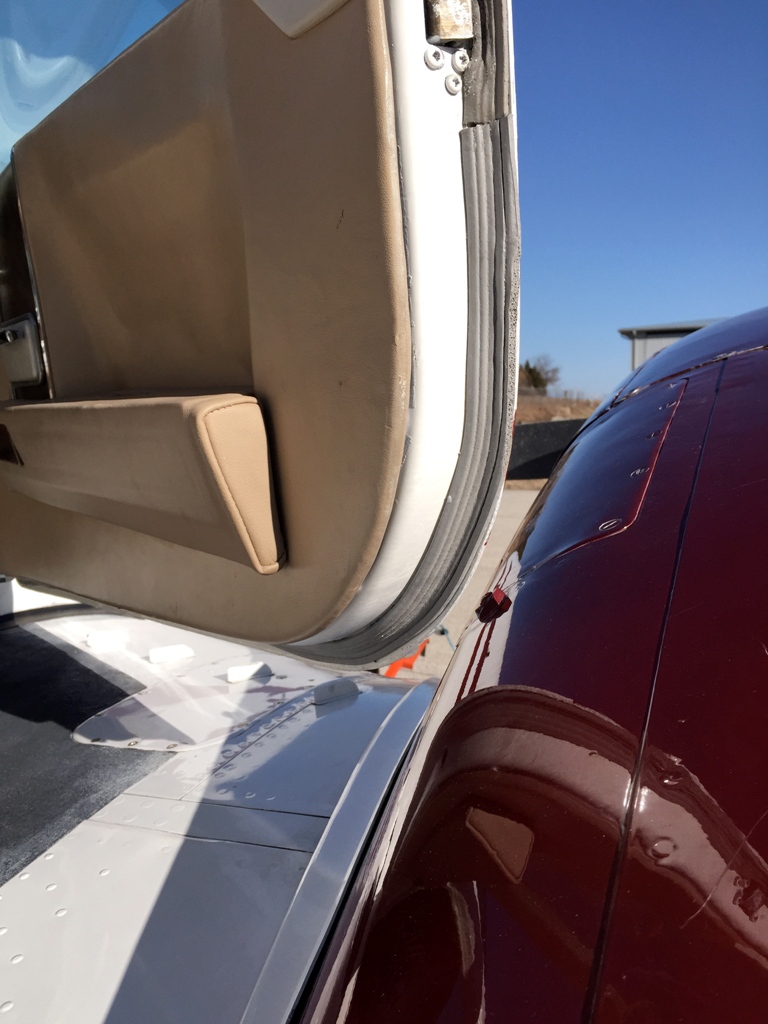
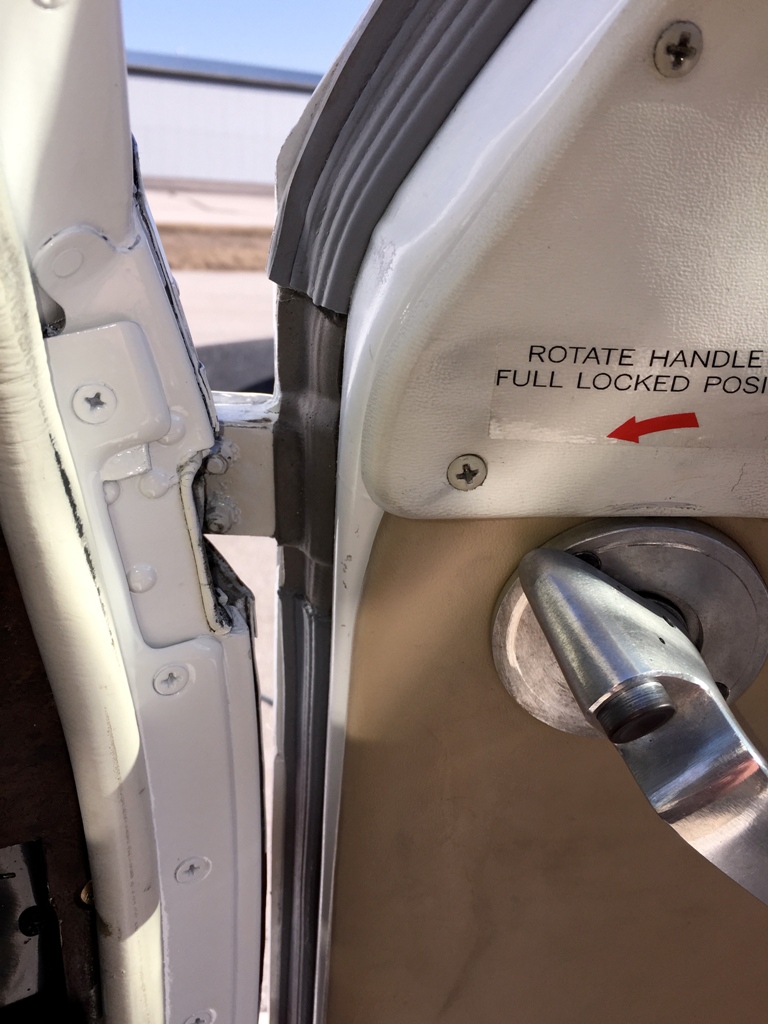
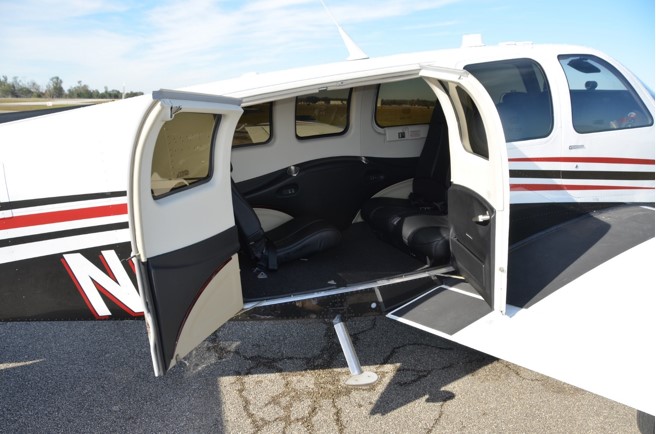
Here is Sven L.'s Baron 55 door seal install with the latest
GeeBee silicone door seal. Note the orientation of the seal for
proper placement.
Here is Michael B.'s door seal install pirep:
I thought I'd post some information and photos of my seal replacement project
on my 1977 B55 Baron. I purchased a cabin door seal, emergency window seals,
baggage door seal, wing and tail root seals from Guy Ginby at GEE BEE. My plan
is to do a little at a time as I have very little free time to tackle the whole
project all at once. Besides, I can't have her unable to fly for a long period
of time, as the weather is finally getting nice up here in Milwaukee.
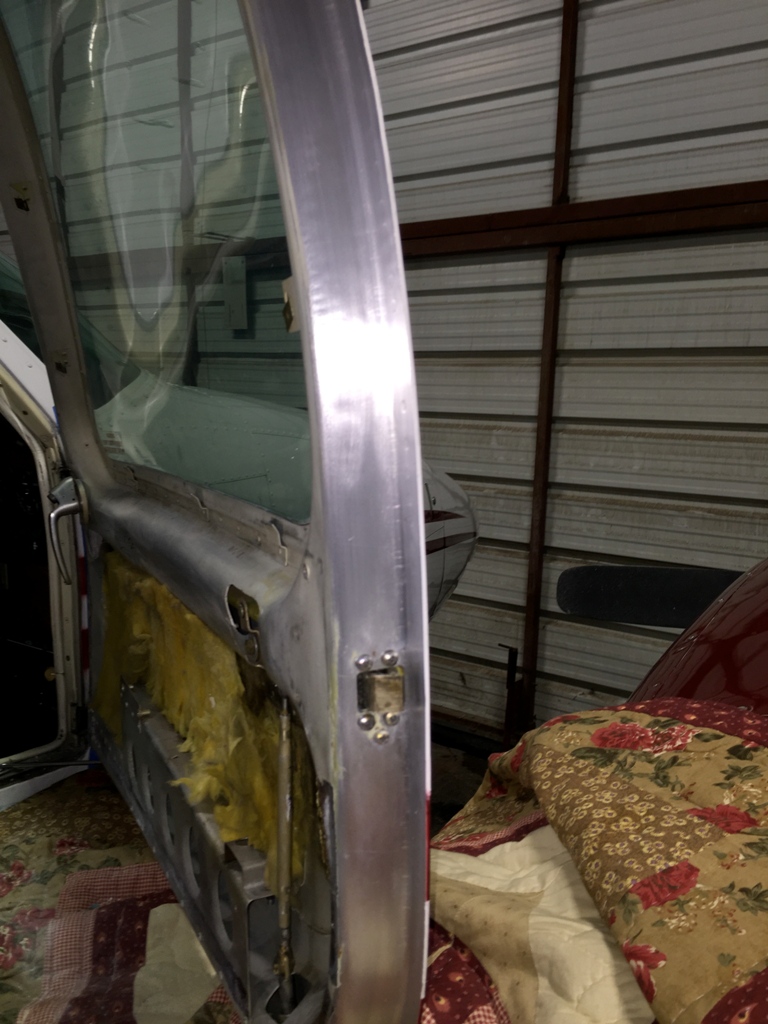
I have completed the Cabin Door Seal replacement. This part of the project
took about 10 hours of actual working time, with a lot of "waiting to dry time"
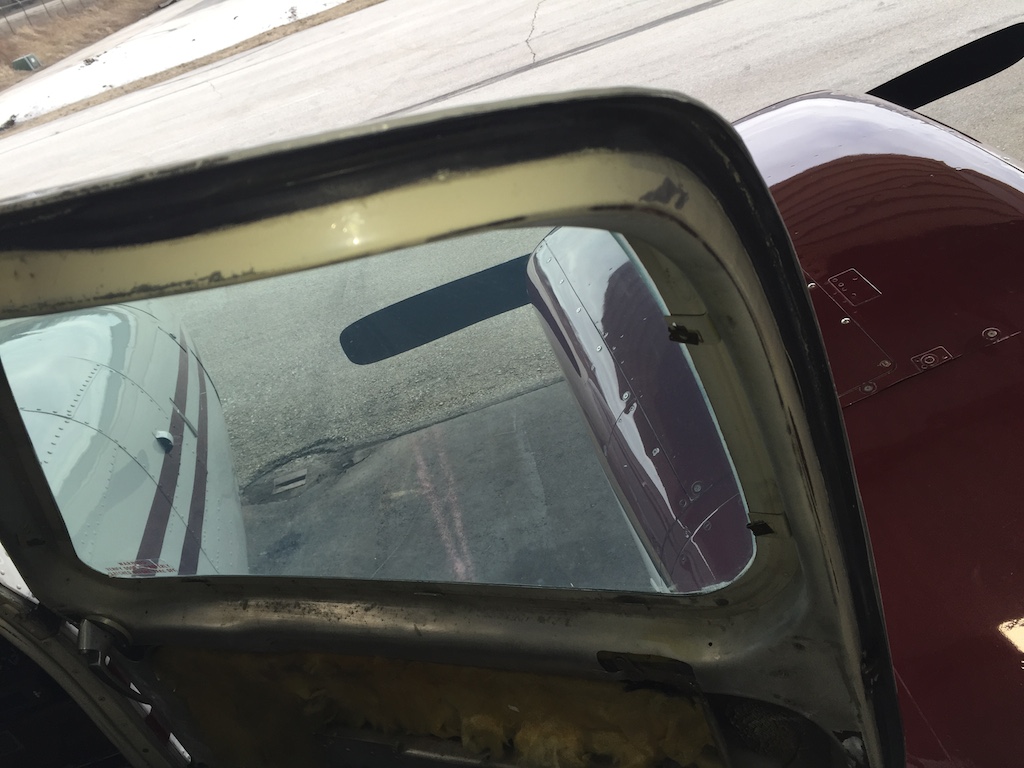
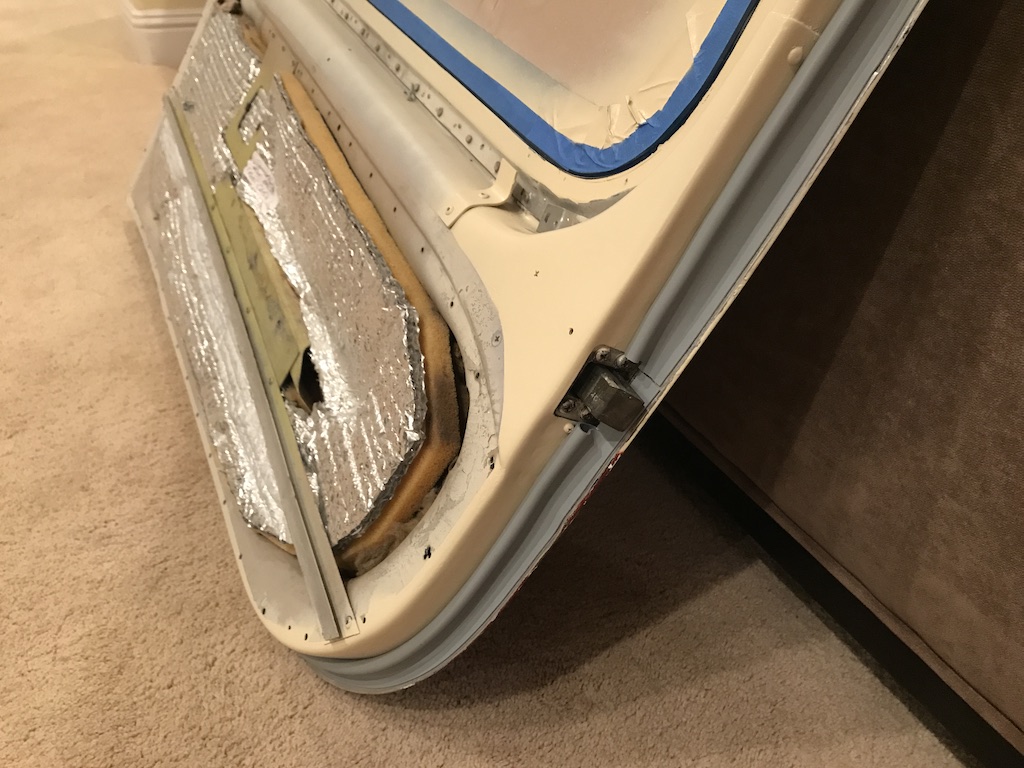
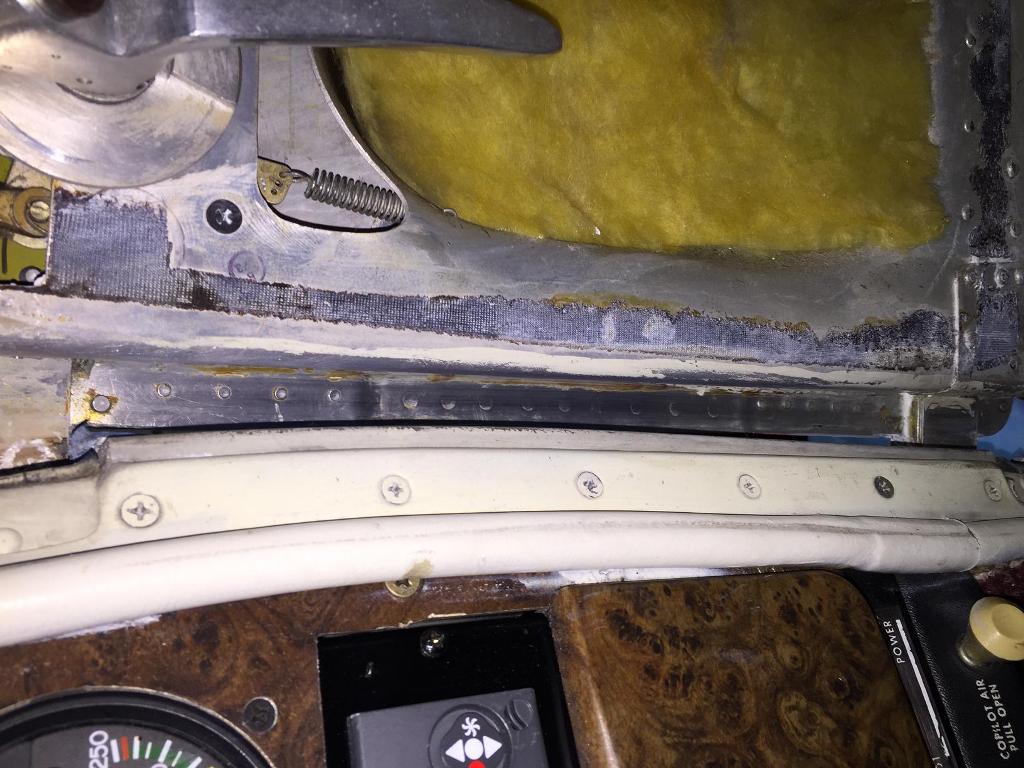
in between. As you can see from the "Before" photos, the old seal was rubber,
dried out, and had folds and cracks in it so that there was a significant amount
of air that would rush in.
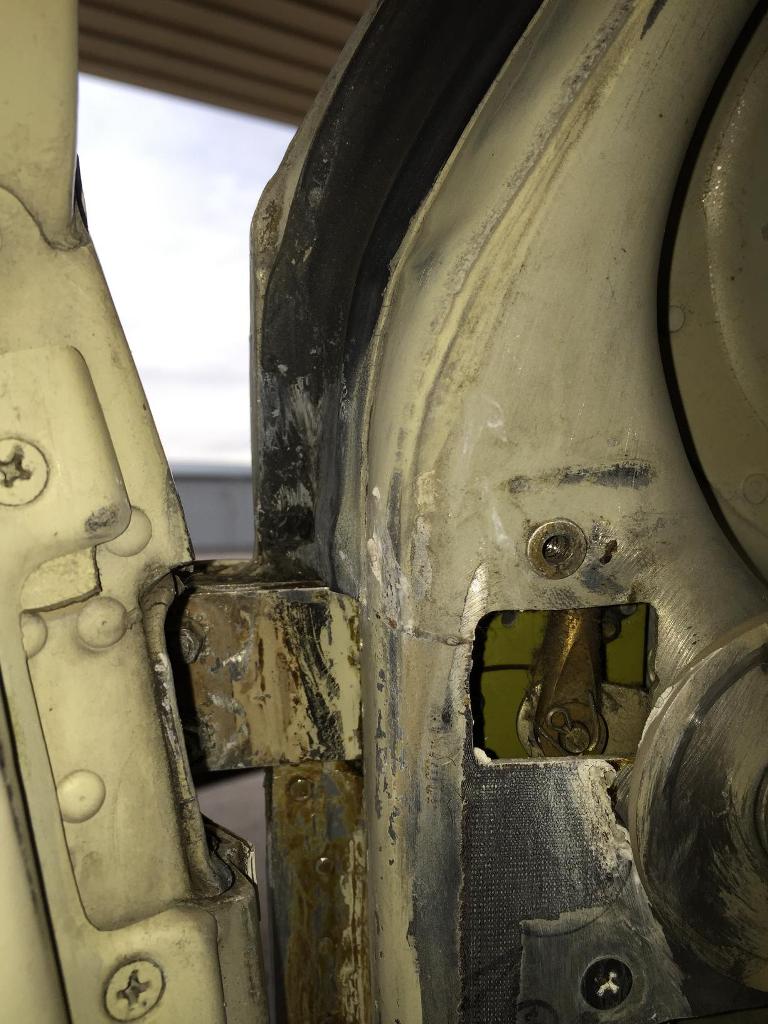
I removed the old seal to find multiple levels of old glue and scratched
paint. As you can see, when the plane was repainted in 2009, they did not remove
the seals, nor repaint the inside of the door and jam. The old seal pretty much
came off in a few large pieces and lots of little ones that I was able to pull
off with a needle nose pliers. I used Peerco 321 adhesive remover and a LOT of
elbow grease to get most of the old glue off. I used Goof Off on small pieces of
ScotchBrite to remove the stubborn areas of glue and the old yellow paint. I
wiped it all down with IPA.
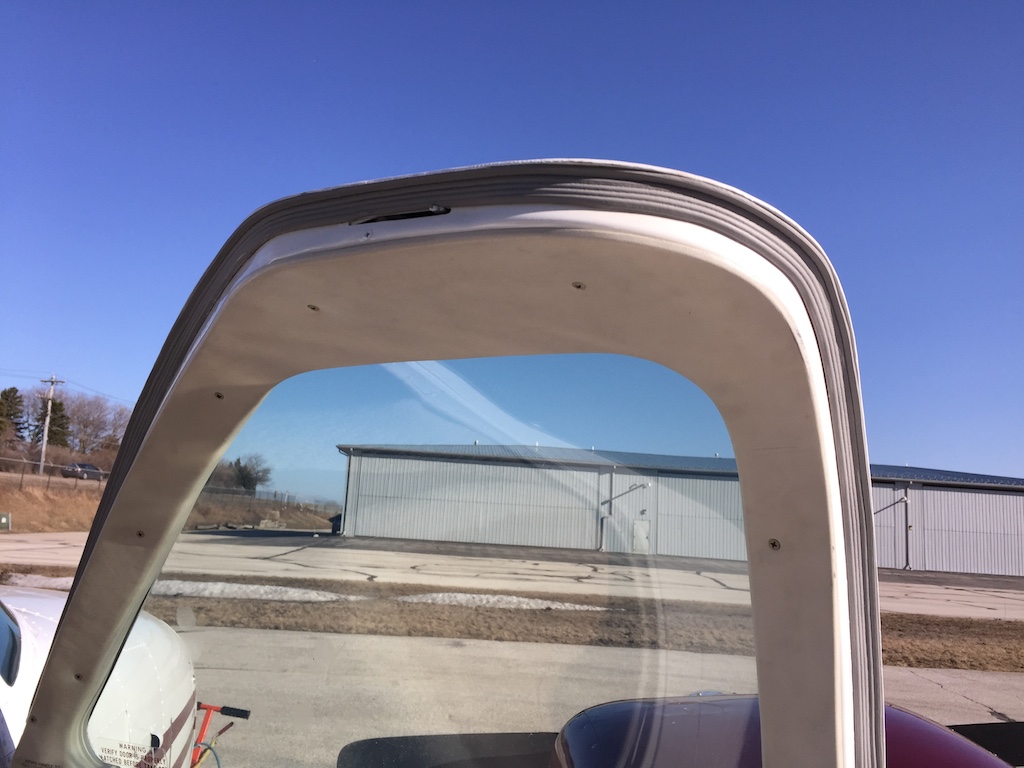
I then taped off both sides of the door jam (the cabin side and the door
side). I used four coats of an aircraft primer and then three coats of a white
gloss aircraft paint with sufficient drying time in between coats and prior to
application of the new glue and seal.
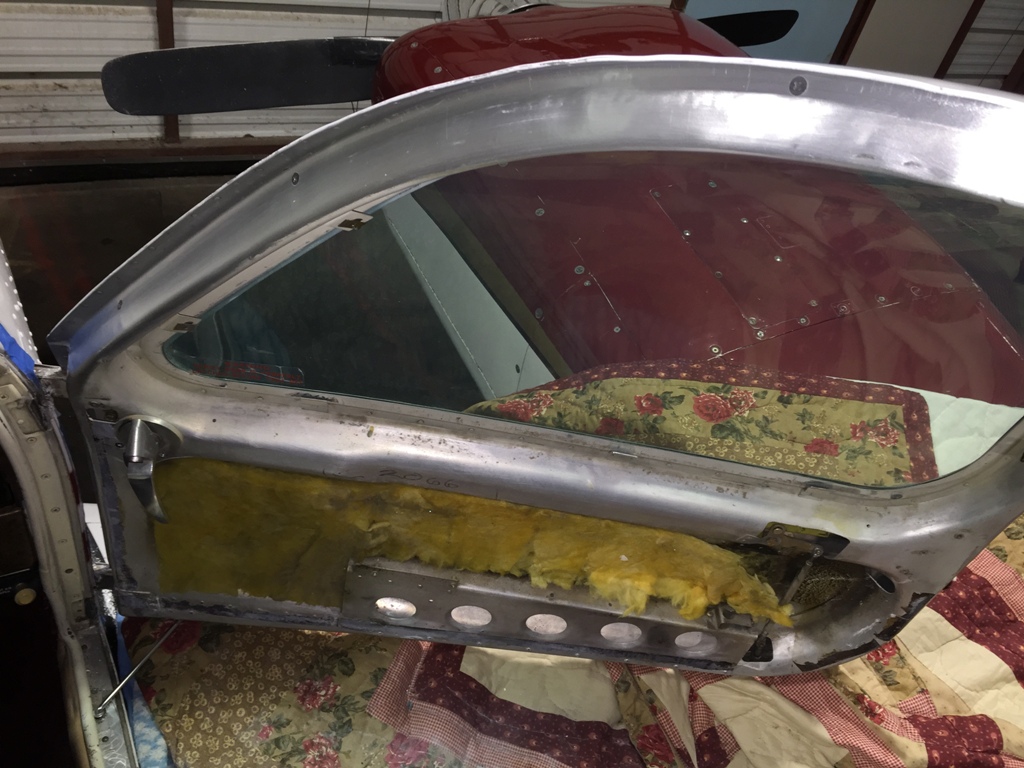
I followed the instructions for the glue, mixing about one large drop of
catalyst to one ounce of glue in a glass jar. I applied the mixture to the
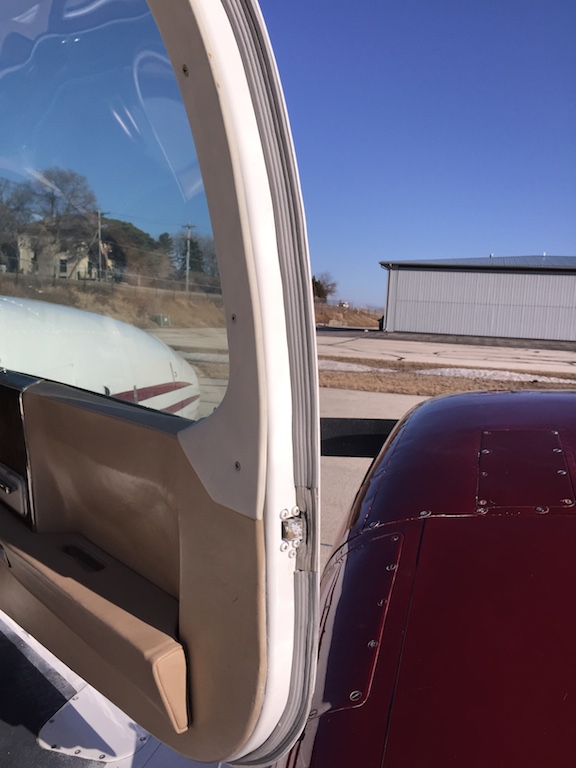
entire length of the seal and to the perimeter of the door. Getting the new seal
to set in the channel correctly was a bit of a task as I was doing this alone, I
had not removed the door and the glue was extremely tacky. The seal comes in two
pieces, the first is a short section that fits on the forward area of the door
over the hinges. This piece was relatively easy to place as it is small and
thinner than the main seal. For the main seal, I very carefully started at the
door latch and worked my way upward. I would peel the seal back a few inches
every once in a while when I wasn't completely satisfied with how it was seated
in the groove. I repeated the same process working down from the latch and the
underside of the door. I trimmed the extra length off using the razor knife that
Guy provided. I allowed this to dry overnight before trying to close the door.
The next day, I tried to close the door and found that it was extremely
tight, so much so, that I couldn't get the door to close all the way so that the
outside latch laid flat. I adjusted both latches as far out as I could get them
and this improved things.
Overall, I think this part of the project turned out pretty well considering
I have never done this before. Things I would suggest are 1. Take the door off
(I tried to remove the door by removing the four screws on the hinges. This did
not work for me. I think the hinges were glued or frozen together. I did not
want to risk damaging the hinges, so I left the door on and struggled). 2. I
would get a buddy to help. 3. After speaking with Guy, I would heed his advice
and let the glue on the door dry completely by using a hair dryer, then apply
the seal with wet glue on it.
I have to thank Guy for all of his help and for providing me with a superior
product. I look forward to the next task...The baggage door.
Gee Bee's
External Rain Seal
Silicone Cement is Always Included
Sold by the foot - Call for Pricing
OEM Style
A36/B58 Rear Door Silicone Seal Kit
Complete all grey OEM Style molded seal kit includes: