Here's a touch up project to spiff up
your mid-century plastic heater/defrost control knobs to something a
little more elegant and befitting of a Beechcraft.
Check with your A&P/IA before proceeding to be sure that it will pass muster with him as a "minor" alteration.
1. Find some
attractive cabinet knobs with 10-32 threads that are sized
appropriately. NOTE: If your chosen knob has a different thread pitch,
be sure to thread the shaft appropriately.
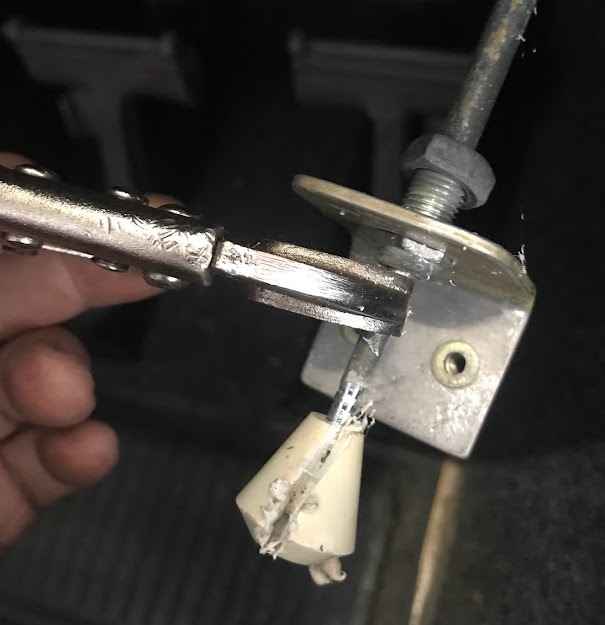
2. Loosen the control knob attaching bracket to free it from the panel just enough to work on the shaft with hand tools.
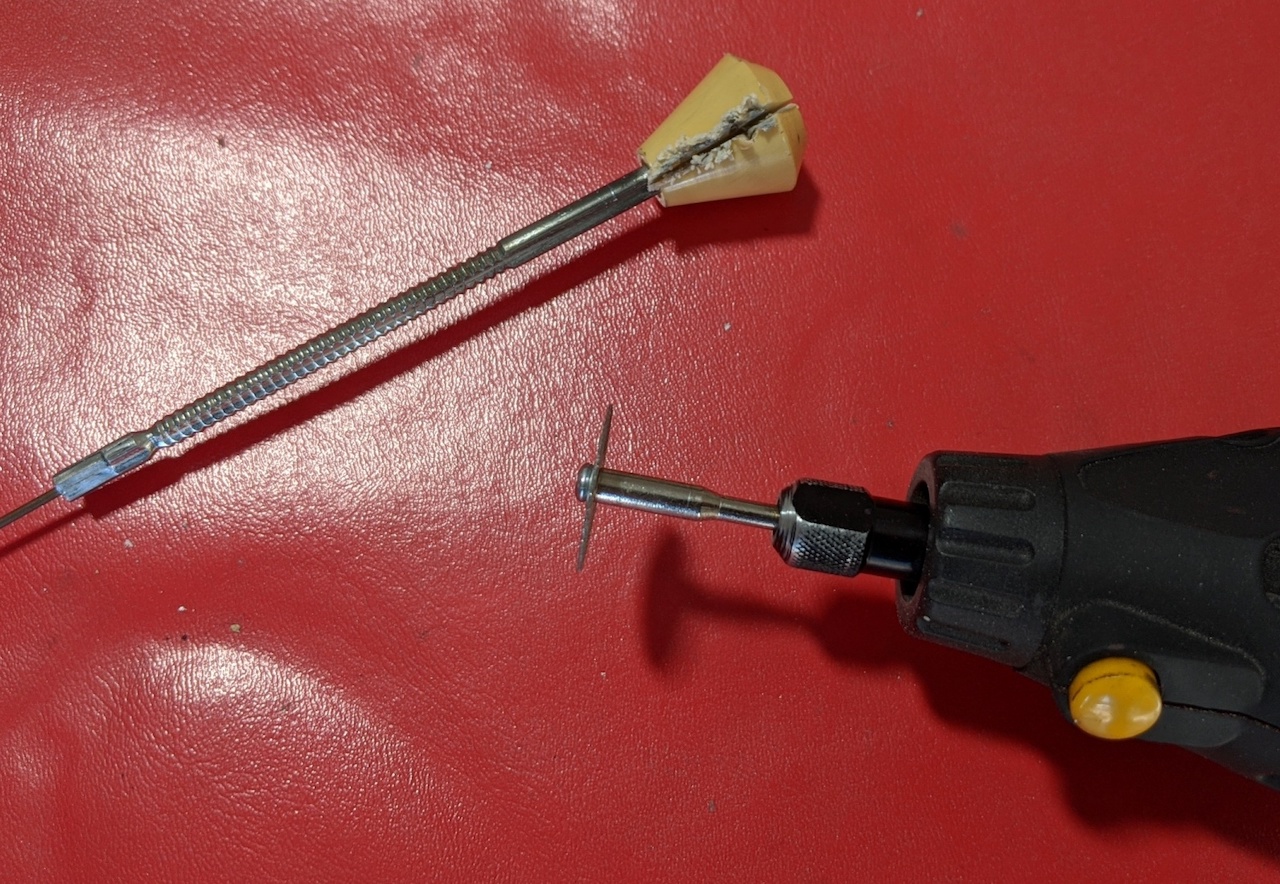
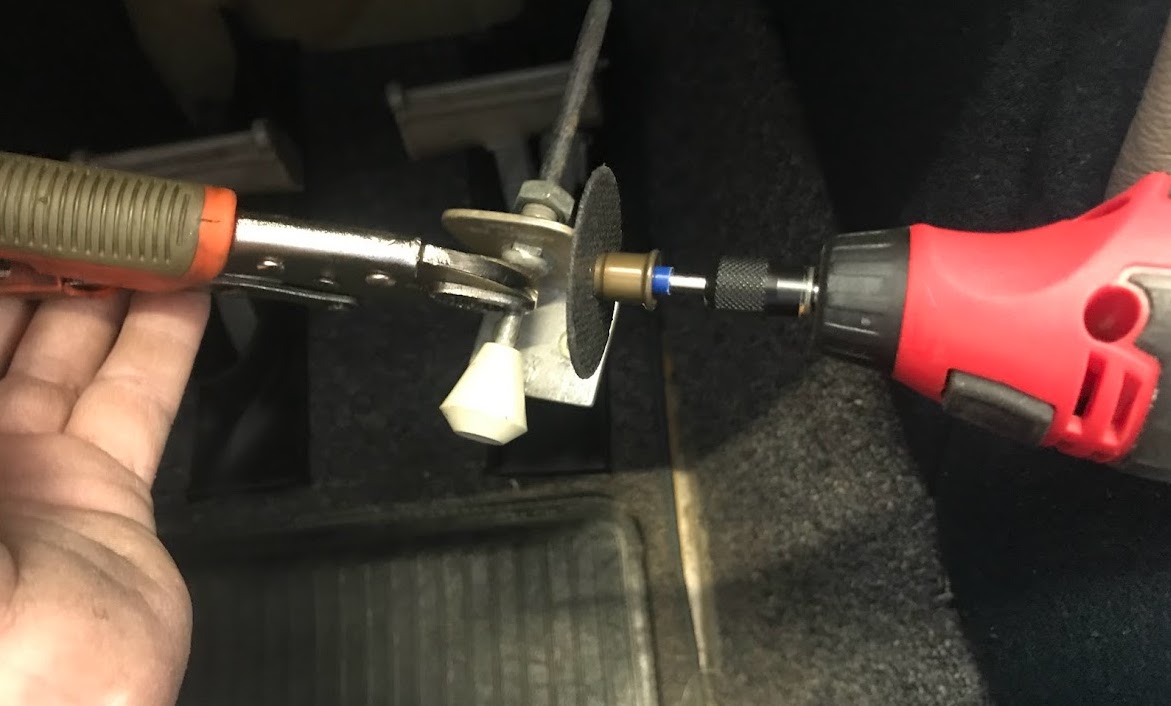
3. Use a Dremel or
equivalent small cutoff wheel tool to slice the existing knob
lengthwise. Then use a slotted screwdriver to pry the two knob halves
off the shaft.
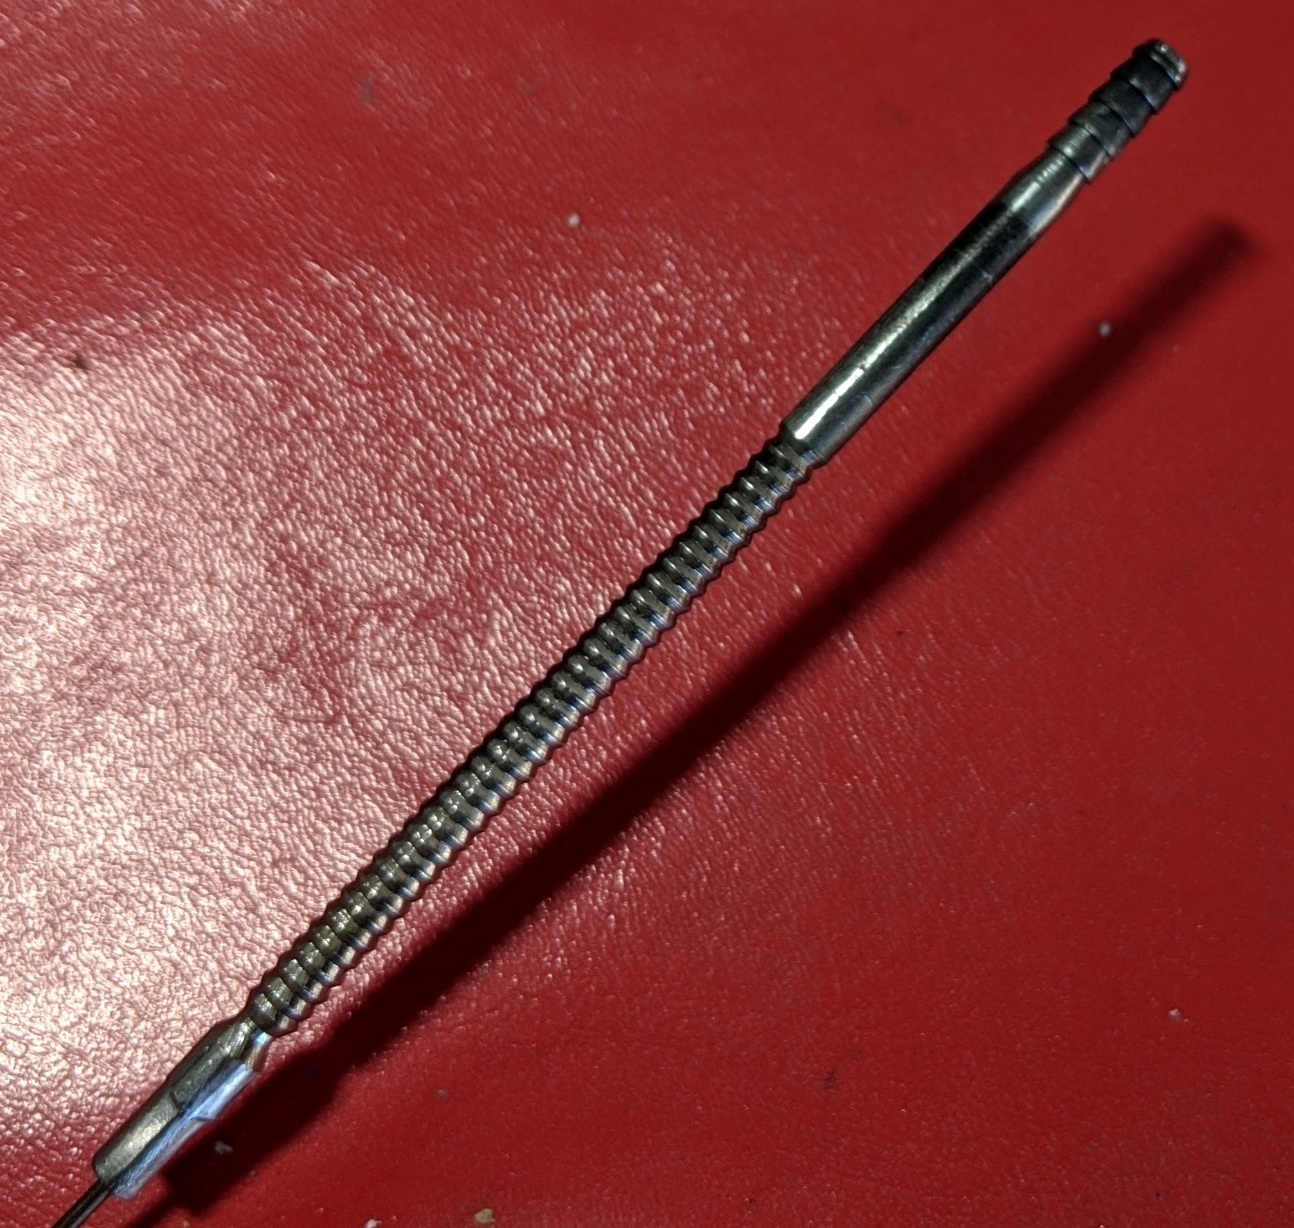
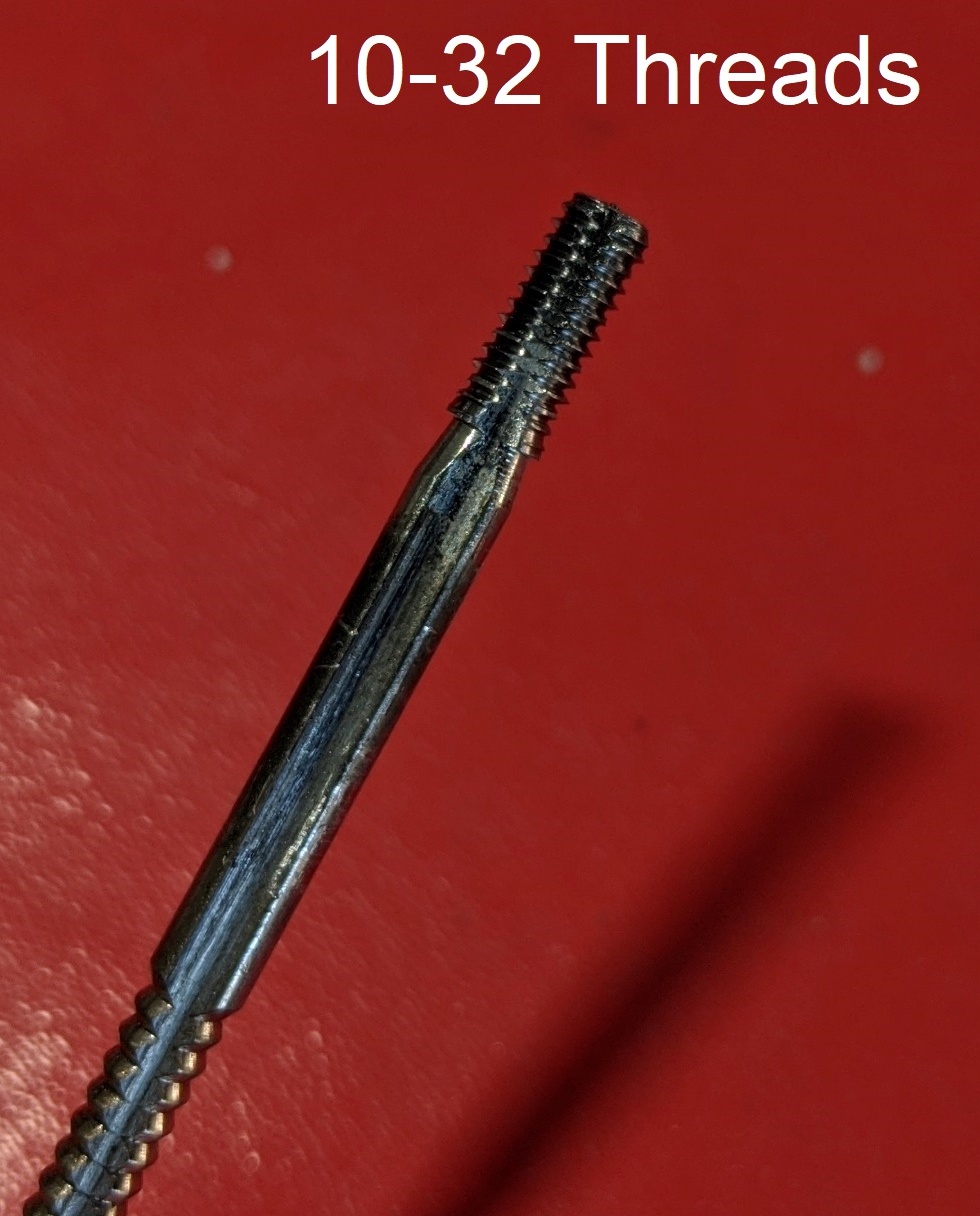
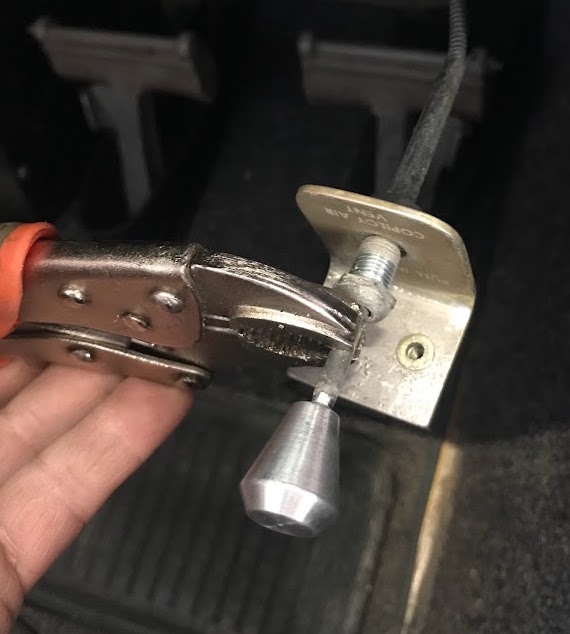
4. Use a 10-32 female
die tool (or the appropriate thread pitch for your chosen knob) to
thread the end of the metal shaft that you have exposed after removing
the ancient plastic knob.
5. After threading the rod, thread your selected knob onto the shaft and reassemble the panel attaching hardware.
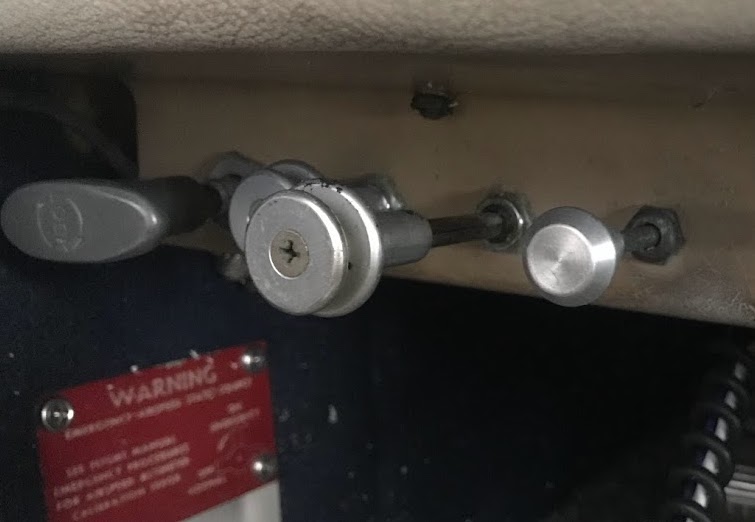
Below are pics from Beech owner Shep J. and me on our knob replacements. Here is what Shep had to say about his project:
"............you just
slice the knob with a Dremel cut-off wheel then break it apart with a
slotted screwdriver. What you are left with is a barbed end to which the
original plastic knob was pressed. I believe you could press a new knob
on and secure it with JB weld or find knobs that are retained by set
screws but I opted to thread mine 10-32 and do the same with some nice
cabinet knobs and secure them with blue Locktite. I've only done one so
far but it took less than an hour and I'm very pleased with the
results…"