|

Finally a FAA-PMA Approved
redesigned Door and Window seals for our Beechcraft. It is a phenomenal memory
foam based seal that forms to the exact contours of your door opening.
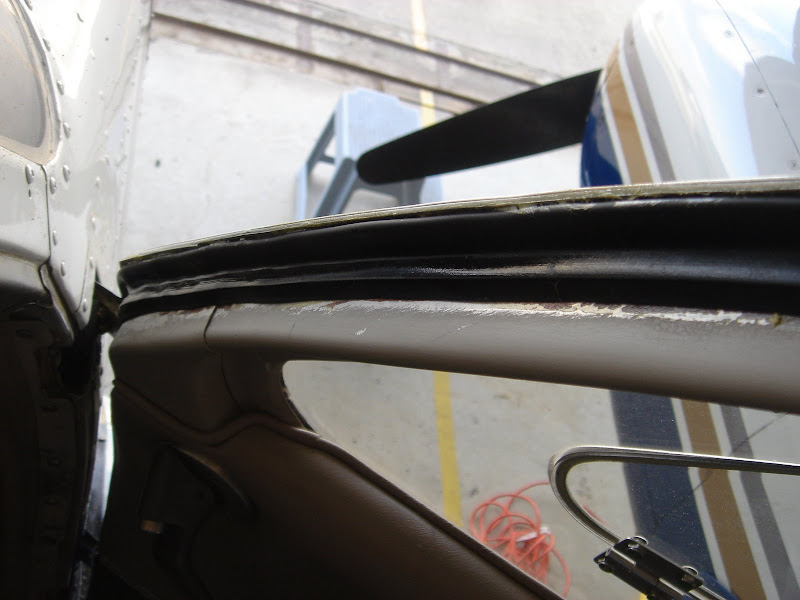
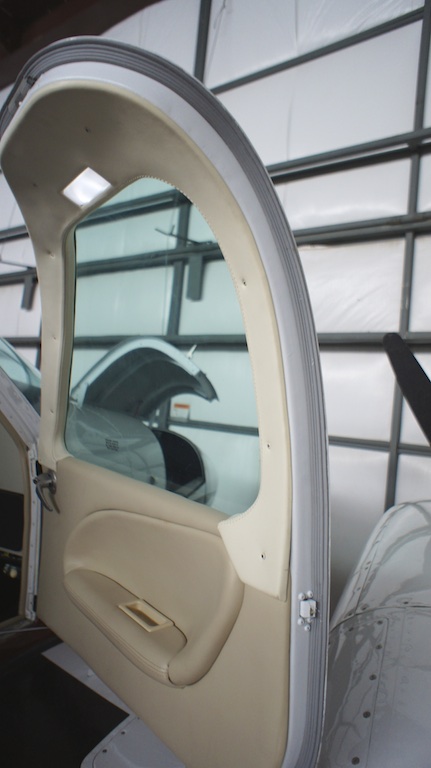
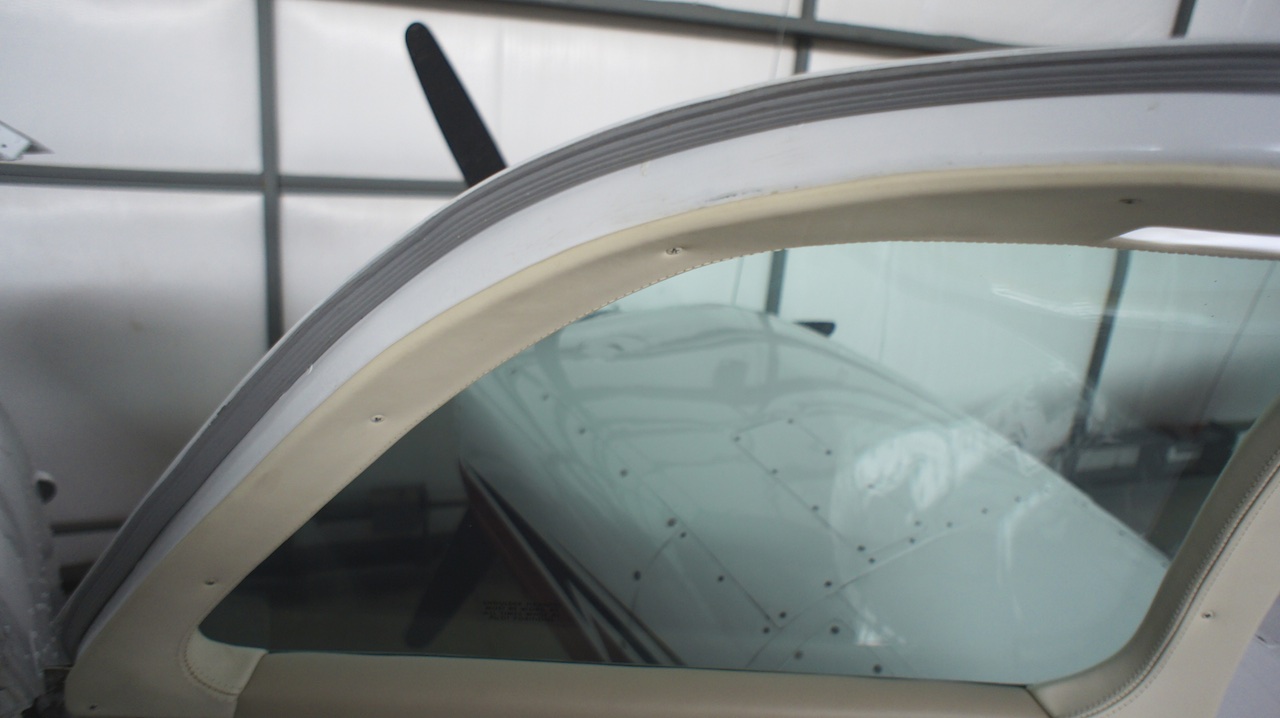
Here is a picture of a factory original door
seal showing the RIGHT way and the WRONG way to install the factory seal, in
case you go that route. I highly recommend the replacement seal from AirCraftDoorSeals.com

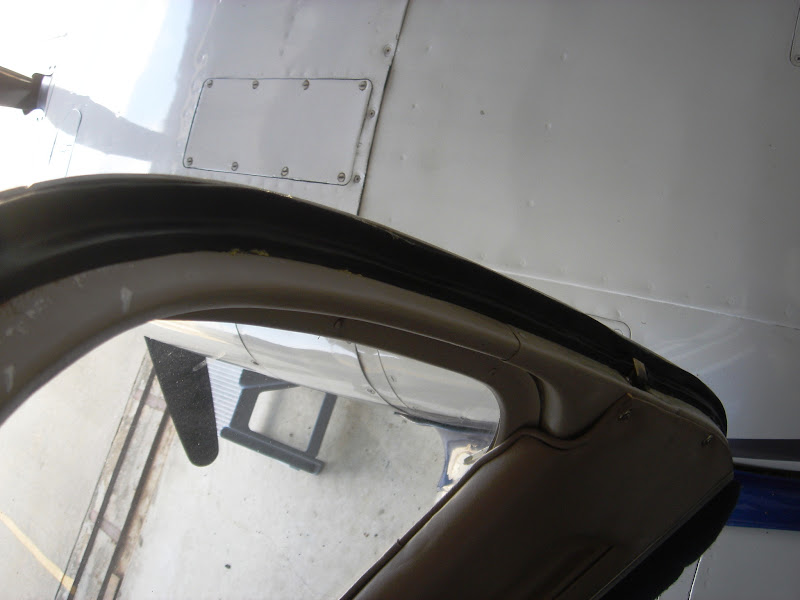
Installing these new design seals generally makes a big
improvement in door sealing, wind noise and eliminates leaks and is a very good
low cost improvement to the enjoyment of your aircraft.
AirCraftDoorSeals.com

Here's what they say about
their product:
"The Incredible Door Seal allows the door to
fully close and provides a seal that is both airtight and waterproof. It is very
affordable and easy to install, and needs only a log book entry by the owner or
mechanic to document the installation. And best of all, it works!"
I've installed my Door Seal
and Nose Baggage Seal in my B55 and they are both great improvements. No more leaking air
coming in the cabin door. It took about 24 hours for the new seal to take a set
and was difficult to close initially, but the end result is excellent. I'm
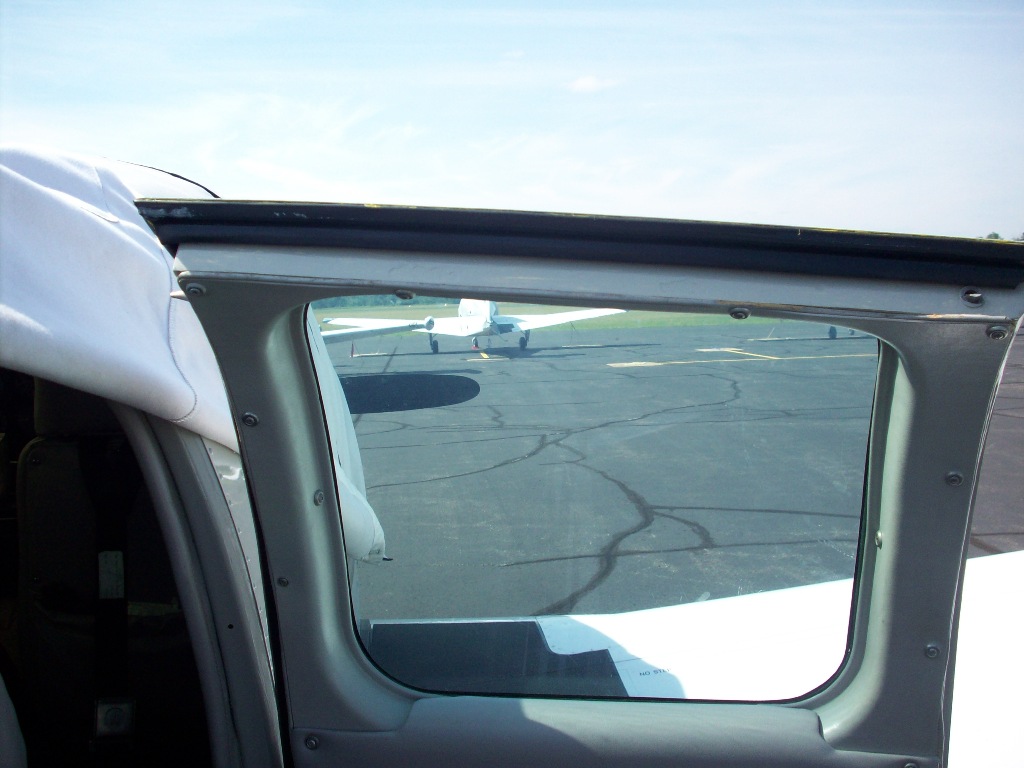
looking forward to doing my door and pilot vent windows and rear baggage door
with their stuff in the near future.
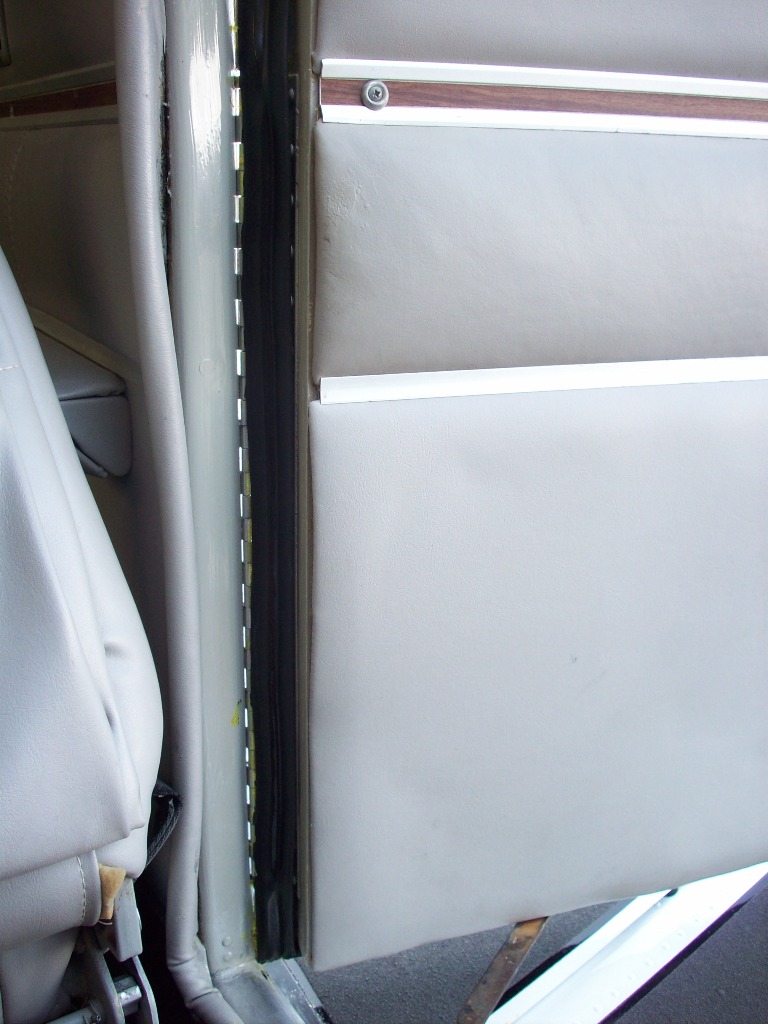
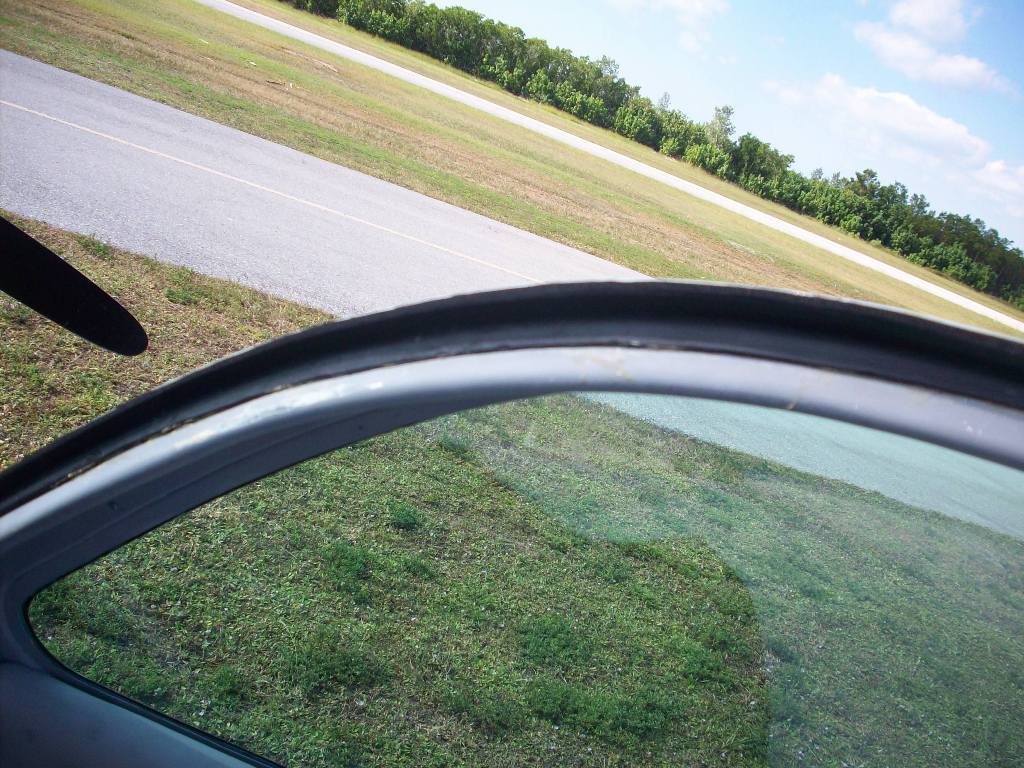
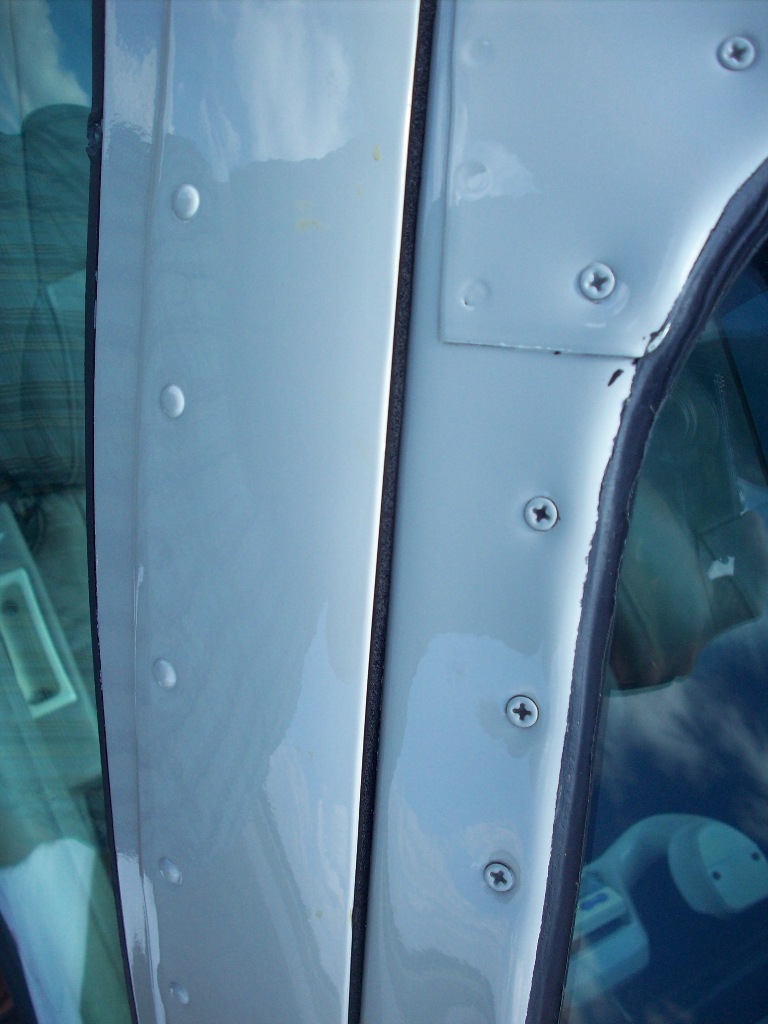
See my Main Door Seal Install
Pics HERE
Click through two pics.
See the Nose Baggage Seal Pics
HERE*
Click through four pics. Note: It will be easier to do this seal by removing the
Baggage Door from its hinges (four bolts). Don't forget to mark the hinge
positions with a Sharpie so alignment is exactly as removed.


* They cut my nose baggage
seal too short. They apologized and cheerfully expedited a completely new seal the proper
length to me. I would NOT hesitate to buy from them again, in fact I intend to
buy a few more seals from them!
Here are the results Marc C. achieved on his A36 "barn doors" with Aircraft
Door Seals products:
NEWS FLASH 11/23/2012:
Marc also identified a CSOB closed cell memory foam at Home Depot for his main
cabin door! It seems to have come out pretty good. Marc reports having to trip
some of the final product at the edge of the door after it set up. He also
reports using the 3M #1300 Weather-stripping adhesive.
HERE is the seal Marc used. It is apparently only available at Home Depot
Canada, but maybe you can source it?????


Below is how it looks applied to Marc's
door after trimming the excess. At ~$29 Canadian, it might be a good solution
for some folks.
Here are pictures of the
GeeBee Door seal
Beech Lister Door Seal Install
Tips, Courtesy of Scott L. (P35
Owner KUES):
What you need:
1. MEK
2. Naphtha
3. 3m super weather strip adhesive part number
8008. This is available from any auto parts store. It is nearly the same as
1300L but black.
4. Roll of painters plastic. (Home Depot)
5. Small acid size brushes. Plastic putty
knife. Razor blades.
6. Stiff stainless steel or brass tooth brushes
7. Goof Off adhesive remover. Get the big can.
(Home Depot).
8. Blue paper towel type shop rags.
9. Carbon filter type respirator (Home Depot).
10. Ibuprofen (CVS, Walgreens)
Part 1: Removal of old seal and glue.
I was not willing to take the main door off so
the bottom can be fun.
Cover your wing with the painters plastic. My
old seal ripped off but there was a few layers of glue. Use the acid brush and
keep soaking the old glue with OOPS. when you get it really soaked then take a
strip of painters plastic and press it down to keep it moist. Let is sit
awhile then rub it with the towels, metal brushes, and the plastic putty
knife. It will come off in little balls of snot and fall on the wing. (You did
remember the plastic, didn't you?). It takes awhile. Use the respirator or you
will start thinking that the Socialists might not be so bad.
When you are all done getting the glue and
loose paint off then wipe it down good with naphtha to get it squeaky clean.
Lay the new seal with the thin side up on the main door and mark it with a
pencil so you know where to put the glue.
The escape windows can be held open by sticking
a broom in between the rear seats and the handle fits nicely in the brackets
on the window for the release pin. I used a razor blade to scrape out old glue
under the hinge.
Now take the Ibuprofen and go to Part 2.
Part 2:
Installing the new main door seals.
Mix about one part MEK to four parts glue and mix
well. Use and acid size brush and put a coat of glue on the door between the
pencil lines. If the glue starts to get stringy then and a few drops of MEK. Let
it dry well.
Take some MEK on a rag and wipe off the back of
the seal to remove the mold release agent. It will come off as light tan on the
rag. Lay the seal down and apply the glue with the brush. If you gob it on then
it will run down and the seal will stick to the floor. Take your time.
By doing a small section at a time you can hold
it down so it does not twist.
You will start at the bottom hinge of the door.
Since the seal is curving here you need to cut the starting edge on a bit of an
angle to get it to line up tight. I cleared the track for the rod by lining it
up on the edge and it cleared no problem.
Take a separate brush and some MEK. Brush it on
the seal to flash it. I found about 5" at a time works well. You will have
about one to two seconds once it touches to get the seal in place before it sets
up. Keep working a small section at a time and do not
stretch the seal especially around the curves.
When you get to the side latch area stop about 4
inches before. Take a razor blade and slice on either side of the latch, just
far enough to clear the latch. Don't cut out more that you need.
Work your way round to the top of the door and
trim the seal by stopping about 4" from the end. Don't try to cut the length before hand.
Clean up any excess glue around the edges with
MEK on a rag and it will look factory.
Closing the door was tough the first time. Here's
a solution. Grease up the seal well at the top of the door and had two guy push
on the outside while I cranked the handle inside. I then crawled out the baggage door.
The next day
it was fine, although you may have to adjust the right screw on the airframe
that adjusts the catch travel. A 1/8 turn of the screw makes a huge difference.
The escape window seals have their own adhesive
strip so it is easier. Make sure to do a final wipe down with naphtha before
installing to get it squeaky clean. I used a putty knife at the hinge area to
get the seal under it by starting the seal at the bottom edge, laying it back
and using the putty knife to tuck it under the hinge.
Cut it 1/8" longer than you need and superglue it
without sticking your fingers to it. A butt splice worked fine with this method
and I did not have the talent to mitre it freehand anyway.
I used 3M 8008 super weather-strip adhesive as it was
available, black, and the contents read the same as 1300L. 3M 8008 sticks
a little too good and it took me 3 days to remove the new seal when I had to
redo the baggage door. I will use 1300L next time.
I have not seen if they changed the instructions yet but the
original ones should not necessarily be followed in terms of seal placement.
They did not seem to realize that there are many different doors used on
Bonanzas and Barons on how they seal. I think they used a Baron and a late
model V35B when they did the approvals.
Basically you want to put the seal to the outer edge of the
door, because if you look on the airframe there is usually .25" lip for the seal
to fit against. If you follow the instructions and place the seal in the
corner of the door there will be too much gap on many doors and you will get
only about 1/6" of seal on some places. I am also thinking it may be
better to only glue the top half of the seal to the door in those cases. I am
going to redo my main door starting at the top latch down to the same area at
the bottom of the door this way. The Baron demo door they had at OSH did not
have this issue.
Pre 1963 small baggage doors have less than 1/8" lip to seal
against and if you do not get the seal right to the edge of the door it
will be useless. I also came up with a method to seal the hinge area with the
extra seal as there are a lot of leaks at the hinge. The seals are the best
thing you can buy, especially the ones for the escape windows and storm window.
Doug G's
AircraftDoorSeals.com Install Pirep on his Classic C35 Bonanza:
I recently completed the installation of the full complement
of the seals available for the C35 from Aircraft Door Seals. I attended the
seminar that Kevin and Steve did at the ABS tent at OSH. I was originally
planning to get only the cabin door, but decided to do the whole magilla after
the seminar and hearing Dick Russ explain how he came up with the idea. I used
emails from Lance F. and Scott L. that I had archived in anticipation of the
project. They were quire helpful.
Cabin Door: Getting the old adhesive off the door was quite a
job. It took me a good 8 hours using several iterations of Goof-Off and MEK. My
first test flight was something of a disappointment due to a poor seal along the
bottom edge of the door that gave a higher pitched hiss than before that was
most obtrusive. I found that a gentle tug on the handle made it go away. II
tried repositioning the lower part of the seal with no change. I tightened up
the latch to no avail. I solved it by adding 4 layers of clear hockey tape to
the door jamb. My door could really use the Klug fix, so that might be the
cause. I found the location of the leak with my mechanic's stethoscope made out
of an old set of airline headphones (the kind that were just plastic tubes, not
electronic) with the "plug" removed. By sticking the end without the plug
between the door and the jamb, you can move it around to ID the location of any
leaks.
Emergency Exit Windows: This was pretty easy . Again, the
toughest part is getting the old adhesive off. I tied some rope to a cinder
block on the floor opposite to the window I was working on to hold it open. The
seals for the old style windows are peel and stick. When I was done, I was
concerned that the windows were sticking out too much when looking parallel to
the fuselage. After sitting overnight, the windows were back to normal as the
material had taken its "set".
Baggage Door: Before I took the old seal out, I happened to
look into the baggage compartment and could see daylight around parts of the
door! The kit comes with the same material as is used on the cabin door. For the
older Bonanzas, this is not the right shape IMO. The seal on my door is made
between the door jamb and the very outer edge of the door itself. In other
words, it seems that the newer baggage doors have a jamb/door interface like
that of the cabin door where on the older versions, the part that is parallel
with the jamb is further away from the door edge and makes an obtuse angle with
the door skin. I installed the seal by gluing it to the door and trimming the
rest off with a razor blade. It doesn't look to great, but it seals great.
Luckily, they give you enough material for a large baggage door which is enough
to do two of the small doors.
Pilot Window: I have the old style window. WARNING - if you
have the old style pilot vent window and have the kit be sure to measure the
seal. Mine was 4 inches too short which I discovered as I was putting it on. I
was able to piece in what was missing with leftover material from the emergency
windows since they use the same material. I have explained this to Dick and he
has changed his drawing. He sent me a free replacement kit so I can remediate my
installation.
On my plane, the door seal was 38 years old. The others were
original - 56 years old. What a difference in wind noise! I had no idea there
were that many leaks. I think my baggage door was contributing a large amount of
wind noise based on the poor seal I had.
|


