CSOB Window Tint: Wouldn't it be great to have a really nice modern window
look on your Bonanza or Baron, like your automobile, with interior temperature
reducing benefits. Everyone knows we cannot use the conventional POLYESTER
FILM based tint films
used on glass because of their aggressive adhesives and the fact that our
acrylic windows has a coefficient of expansion much different than glass.
Beech Lister
Max
G., blazed
the trail a few years ago and spoke about a Static Cling Film he found at
Wal-Mart. With no prior experience in window
film he got a great result. Two years later, Max is still pleased with the
static cling film he installed and look on his Bonanza. He even shared a few install tips with me and
my installer buddy. Thanks Max! (PS: on 7/17/2013 Max reports 7 years of
success with his cling vinyl tint film.
Being based in Dallas, Texas and formerly in
Tampa, Florida (yeah, it's mega hot in both those places), I knew a little
about what it felt like to get into my plane after even a little while of
being on the ramp. Not fun at all! So, I finally got around to trying Max's
idea and here are the results.
I selected 20% film initially and after
further review at night on the ramp, the clarity is not quite what I'd like on
the front windows, so I replaced the 20% film with the 35% Visible Light
Transmission product. The 20% is excellent, IMHO for the center and rear
windows and possibly an "eyebrow" at the top of the windshield for about 5 to
7 inches. The 35% is quite good for the front windows*, IMHO, your definition
of success may vary.
*
Click
HERE
to go to my web album and click thru eight tint pictures.
The 20% film I used is made byand
comes in 26" x 78" rolls at about $13/roll. Three rolls did all six windows. It
also comes in an "eyebrow" roll 5" wide for about $3/roll. Total time
for a first timer with tint guy help was about 5 hours.
After a few weeks of 20% on the front windows, I
changed to 35% film for a more comfortable night vision view out the side
windows. Your preferences may vary.
As of June 2019, I have about 10 years on
my "Cling-Film" on my Baron windows and can report no objectionable issues. My
plane is hangared most times so if you plan to keep your plane outside in the
Arizona or Florida sunshine 24/7, I can't give you any guidance on that.
However, here is the Gila Film
FAQ
excerpt on their film usage:
Can I use automotive window film on Plexiglas or plastic windows?
Window film adhesive should not make contact with plastic, Plexiglas, acrylic
or lexan surfaces. The film's adhesive contains chemicals that could react with
the organic base of a plastic surface to produce a milky, bubbly appearance. If
the appearance of the plastic is not important, film can certainly be applied.
Suggestion: Gila brand removable-reusable static-cling vinyl is perfect
for use on flat plastic surfaces.
Here's the stuff I bought for my project:
three boxes of 20%
stuff 26" x 78" each
one box of the 35%, 5" wide eyebrow film
(might not be available anymore)
1 gallon distilled water
1 bottle Baby Shampoo
1 Quart pump sprayer bottle
Plastic squeegees (like hotel card keys or Bondo
squeegee/scraper)
Below are the latest Static Cling Films from Amazon as of 20 April 2025 (click image for link)
35%
20%
Here is how I applied my
Static Cling Tint Film:
Clean inside and outside of windows normally.
Prepare a quart of distilled water in a spray bottle with about 1/2
teaspoon of generic baby shampoo WITHOUT CONDITIONER
Squirt the outside of one window well with the solution.
Essentially you place a sheet of the film on the OUTSIDE of the window with
the paper liner facing you.
Rough cut the size sheet you need.
Mark the outer edge of the window on the paper with a sharpie or ball pen.
Now cut your film and take it to the inside of the plane and squirt well
the inside of the window with your solution.
Place film in place and slide around to get in position. Use credit card
room key type squeegee or Bondo style squeege to remove air from center to
outer edges.
Excess film can be lifted and cut with scissors without removing the entire
piece of film from the window. Don't be tempted to let a razor blade edge come in contact with your window, it's not worth it.
Film can be stretched in place via squeegee.
Here are some application tips from Beech Talker, Chester J. of the Dallas
area:
* use plenty of spray solution
* it's much much easier to cut while the paper is still
attached
* the film will stretch to cover your mistakes.
* buy some extra film and be willing to throw away the
first window
* makes sure the windows are very clean
Update 6/16/2013: My cling film is now about five years old and still
doing fine. Mind you, my plane is hangared except for occasional trips where
I'm on the ramp in the sunshine.
Here is a video from Gila Films on install of the linered cling film. It can
be helpful in understanding how to approach the project. From my experience, I
have two cautions regarding the video:
1. DO NOT allow any razor to contact your plexi windows. Do anything you need
to do to avoid this! Use a thin Sharpie to mark the window edge and scissor trim
or cut in some other way without razor contacting the plexi.
2. You do not need the little extra space at the top of the window as shown
in the automotive install video.
Click
HERE
for
Locations to Buy the Axius Film (Wal-Mart, Target, AutoZone)
See the PDF Spec Sheet
HERE.
Scroll down to the Insta-Cling Film section.
Another Cling Film is made by
www.gilafilms.com and can be purchased at
AutoZone. I changed my 20% film in my front windows and used the Gila 35% Cling
Film. It is noticeably thinner, clearer and visibility at night is better. Gila
recommends Cling Film for "plastic" windows
HERE. Note their comments about conventional auto film adhesive should never
be used on plastic windows.
I did engage the services of
an automotive tint guy in the
KATW area,
Tony, who was extremely reasonable (less than $75 for the 5
hours work). After seeing the install, I could say most anyone with average mechanical
ability with a razor and a squeegee could easily accomplish this project in one
day or a weekend.
NEWS FLASH 16 July 2011:
Bonanza owner, Justin G. from MS just
informed me of a residential cling film with very good UV & Heat reduction
properties from Gila that is available at Home Depot.
BE SURE YOU USE THE CLING VERSION!
I say again: BE SURE YOU USE THE
"PEEL-N-CLING" VERSION
Could be worth checking out. It may provide
better UV and heat reduction performance that the auto films and the ad copy
boasts of improved clarity. It is priced at $38/roll (3' x 6.5'). Check it out
HERE
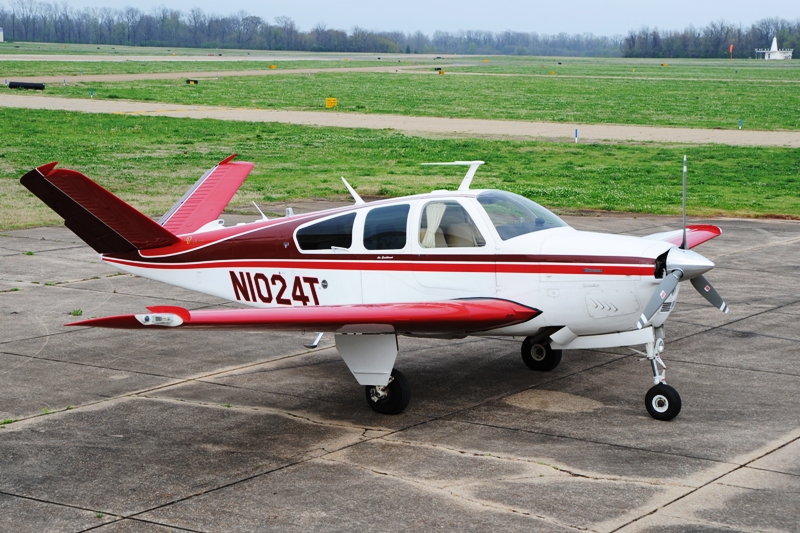
Here is a picture of BeechTalker, John B.'s
V35B after he spiffed up his windows with the Gila Bronze static cling film.
John reports that the 4
windows he did took him about 2 hours and $25 in film material, using the
guidance in this narrative.
Here is a picture of BeechTalker, John B.'s
V35B after he spiffed up his windows with the Gila Bronze static cling film.
John reports that the 4
windows he did took him about 2 hours and $25 in film material, using the
guidance in this narrative.
Here is a great video by a Bonanza owner showing his entire static cling DIY install process
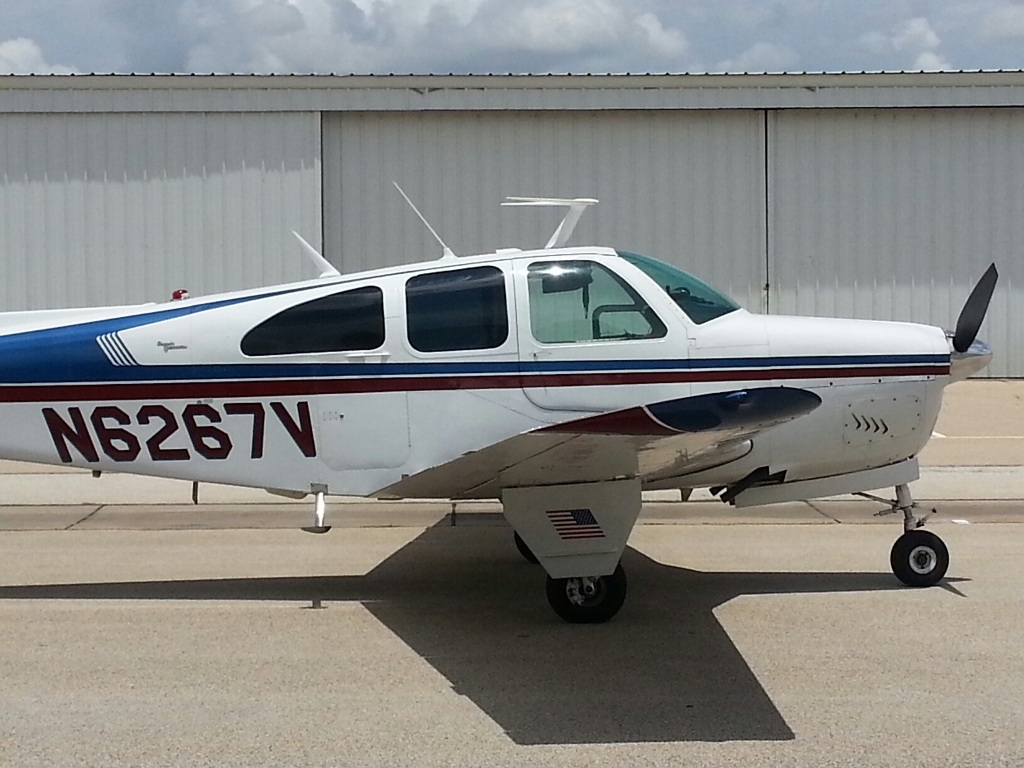
Here is a pirep from K35 Bonanza
owner Mike R., of NC (yeah it's hot and sunny here) on his cling film install:
I did mine the CSOB way, too. Made a huge difference last summer in terms of
that sun coming in from the back windows. I took my sweet time and it still only
took me 2-3 hours in the hangar after I had traced & cut my templates and got
the stuff I needed. I redid the first window twice just to get my bearings on
how much to push that water out, stretch the film to remove the distortions,
etc. And I carefully sanded the edges on an old credit card with very fine
sandpaper to make a sturdy but very smooth pressing surface to apply the film to
the windows. No snags, worked great.
Here is a pirep from G35 Bonanza
owner David L. of Texas (yeah it's hot and sunny here) on his cling film
install:
Mike - I just did the static cling window tint on the Back 4 windows on my
G35 and it turned out great. I took a poster board and made shape/size templates
(one front & one back) from the outside and then cut the film based in the
template. That allowed me to cut it with a straight edge on a table. Only a
little trimming was required in the field. I also cut the film to leave a 1/8 to
1/4 inch gap all around the window instead of trying to make everything tight
and that worked well and looks good. The next time I do it I think I will try a
squirt bottle instead of a sprayer ... Seems like the sprayer created a lot of
bubbles you have to deal with. Also another tip I would put out there is to be
generous in using the liquid solution. I figured out after a little while that
more solution makes it easier. I will probably only leave the tint on for the
summer and then re-tint again next year. Now that I have the size/shape
templates, doing it again will be a snap.
Thanks,
David L
Dallas, TX
Here are other examples of Beechcraft cling tint
prowess. This is Brandon's A36.
Brandon's pirep from BeechTalk follows:
Tried again tonight... super easy! A few tips... to reiterate DO NOT USE THE
HOME FILM IN THE GREEN BOX! it is too thick and doesn't go on well, if the glass
isn't flat (which it isn't) it doesn't contour at all.
First, I had to remove my rear seats anyway... do this! It took 10 extra min
and the quality of the job was much higher with the room to breathe.
On the rear most windows, loosen the trim around it and cut the film 1/8"
larger than that window... then push under trim (I didn't do this, and will when
I replace next detail day).
On the middle windows, cut the same 1/8" too large, there is a rubber strip
around mine, tucked film behind and it looks great.
Finally, the film is directional! I put one on backwards by reading the box
directions, and the clarity sucks! This one will be coming off. I used the
purple cling box w 20% light and think it looks great inside and out. Clarity is
great if: YOU IGNORE THE BOX DIRECTIONS!!!
Here is what I did (and it isn't disimilar from others that have posted
before):
clean windows
spray outside of windows and unroll film and "stick" to wet surface.
trace window with sharpie
pull off (paper still attached) and cut with sharp scissors 1/8" larger than
tracing
get inside plane and ensure window clean
spray with distilled water and baby shampoo mix per CSOB site
NOW PEEL PAPER
immediately stick side paper was on onto wet window.
use an old hotel key to squeegee I sprayed front side too so it didn't snag
(I used old amex...)
I got amazing clarity out of it by spraying front and slowly working them
out.
Total time for 4 back windows was about 2 hours, and 4 beers... YRMV The last
window took me less than 10 min once I got into a groove.
forgot to mention that I did 20% transmission and am thinking of doing 5% on
the very backs when I redo them...
Brandon
Here is Jerry S.'s pirep on his E33:
I spent 2 hours Saturday and 2 hours Sunday putting on the Gila cling tint as
outlined on
CSOBeech. There is a learning curve. I used 5% on the back windows,
20 % on the
middle, and left the front windows stock. One thing that was an
issue was the tint
shrinks when the backing paper is removed. Generally it
seemed about 1/4 inch and
was always in the direction the tint was rolled up.
Anyone else observe this?
All in all though even with a couple small gaps it looks good. I have not had
a chance to
try it out yet but will soon when all this needed rain in Texas
ends. I do wonder if other
brands shrink the same with the paper removed.
I'm also happy I don't have green windows.
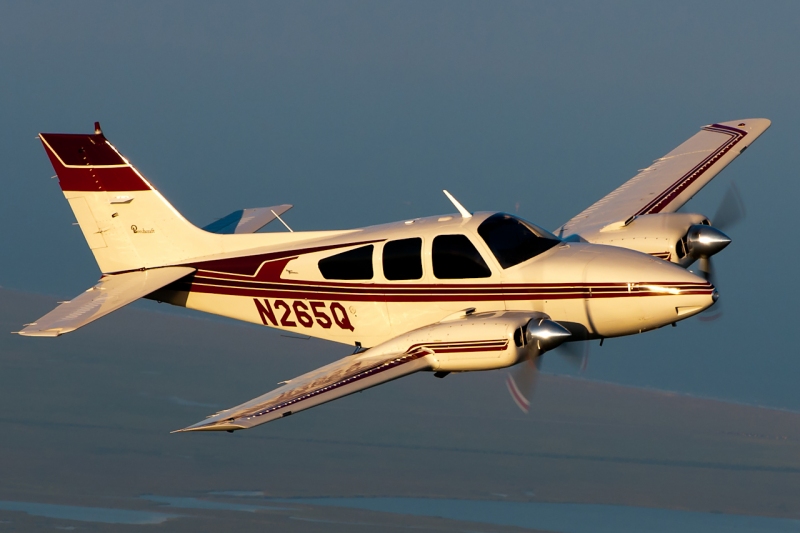
This is Theodore's Baron:
Here are Theodore's comments regarding his Baron:
I love my Walmart tint job. I used the static cling stuff and had a
professional widow tinter do it. He did a really nice job, even around the storm
window.
The cabin is noticeably cooler in the Texas sun than it was before. I do a
lot of night flying and can see through it fine.
Check out
BeechTalk for more pireps
on this and many other Beechcraft topics!